The path to the mark


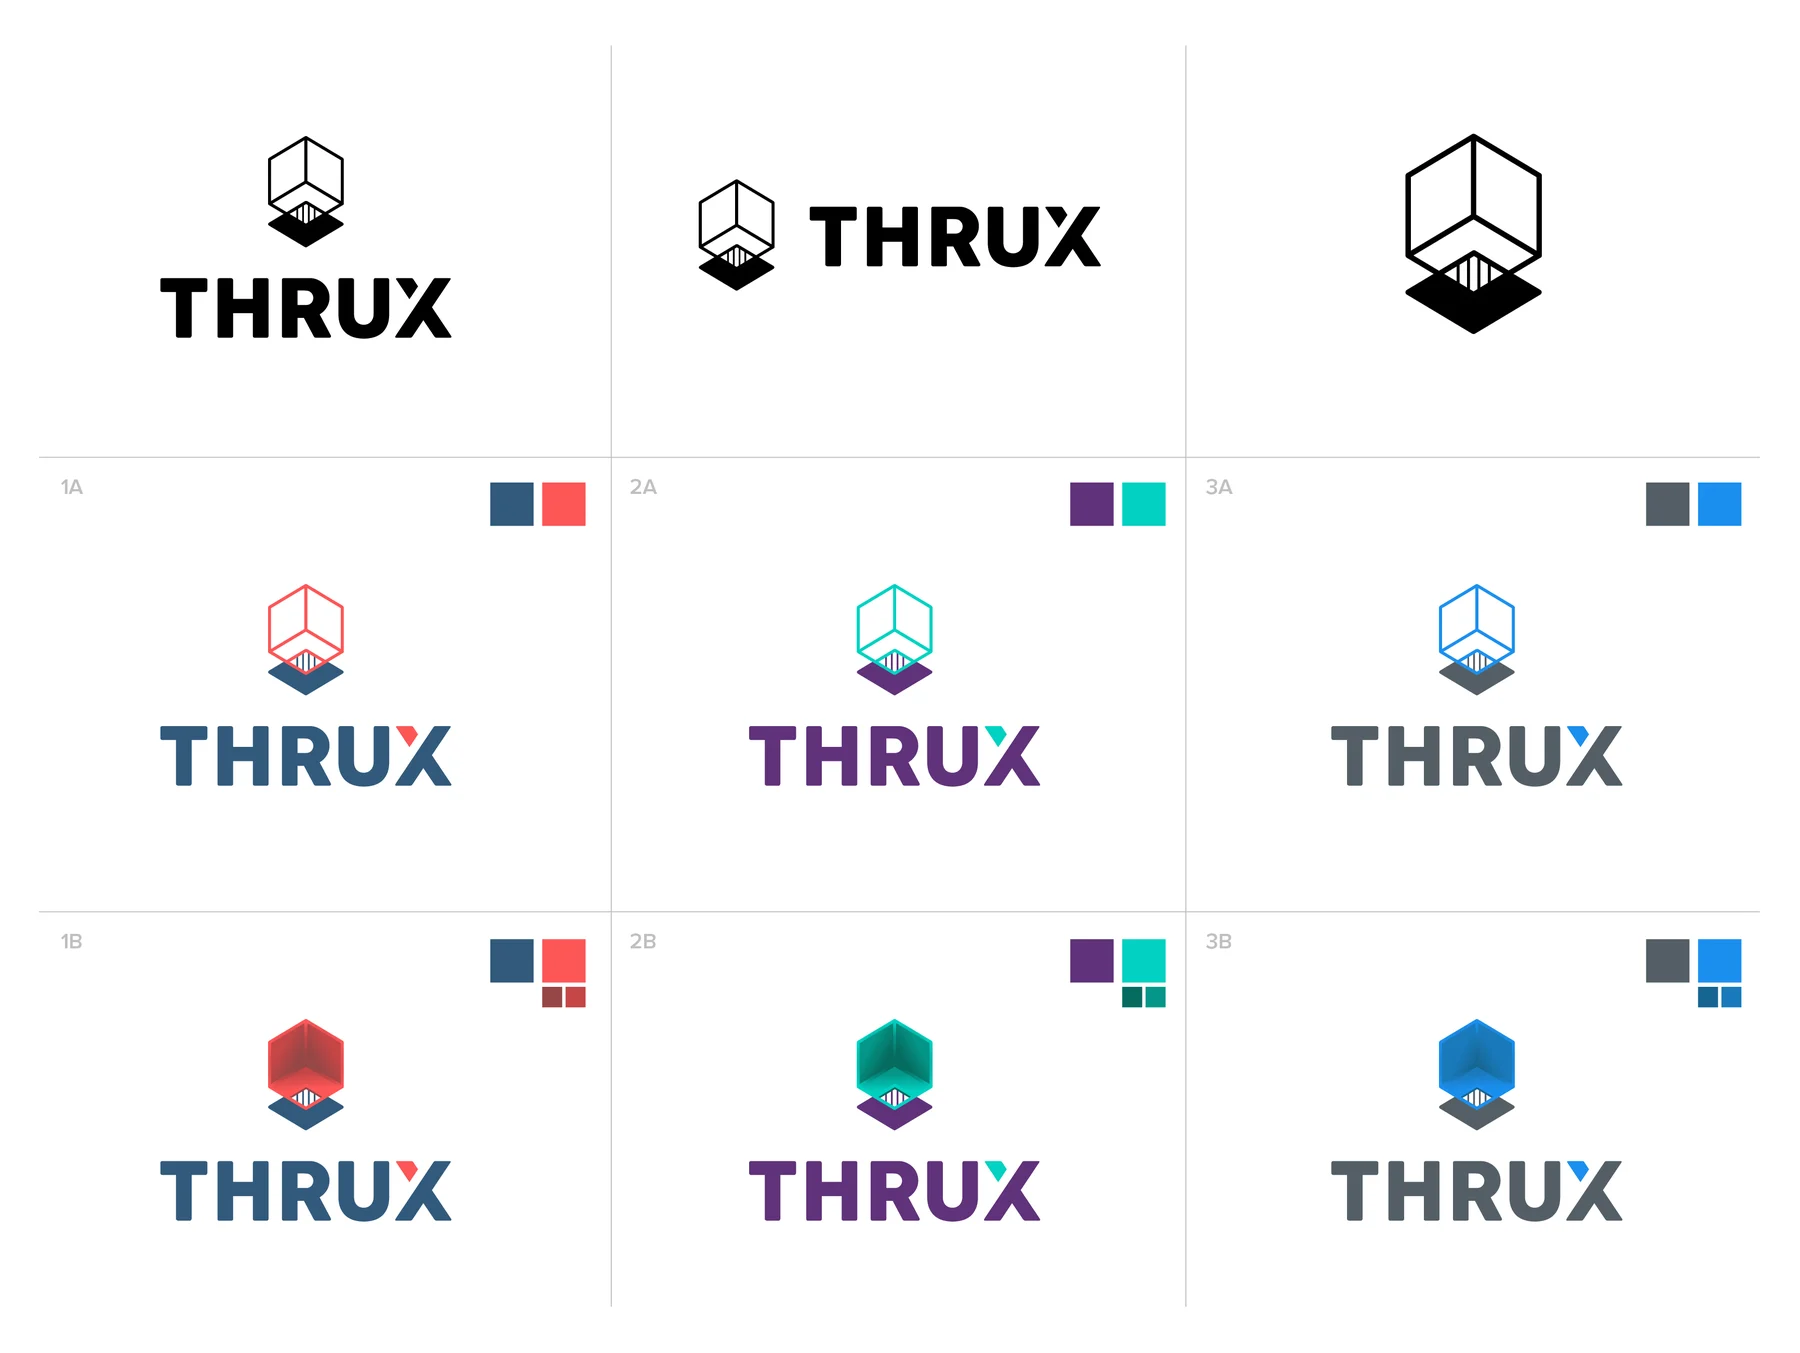
Color
#60327ATeal#02D1C1Sea#049688Deep teal#056B5E#9E59F7Pass#60F958Fail#FC5656Warn#FFD400Splash screens


No single piece of software linked a building’s architectural constraints, its design specs and what it would cost.
Electrical engineers were working across Excel, SKM PTW, EasyPower and Revit, and redoing their calculations every time a client changed their mind.
The user flow
The project lifecycle
Define the project, build its architectural model and start from a baseline design scheme.
Create, change and redistribute equipment, branch the changes worth keeping into new schemes, and clear the flags, pricing and value-engineering checks. Studies and riser analysis report before anything issues.
Submit a branch as a new issuance, assess what changed since the last one, and produce the documents: links to AutoCAD and Revit, printed schedules.
The owner and architect review. Revisions loop back into the scheme; acceptance closes the project.
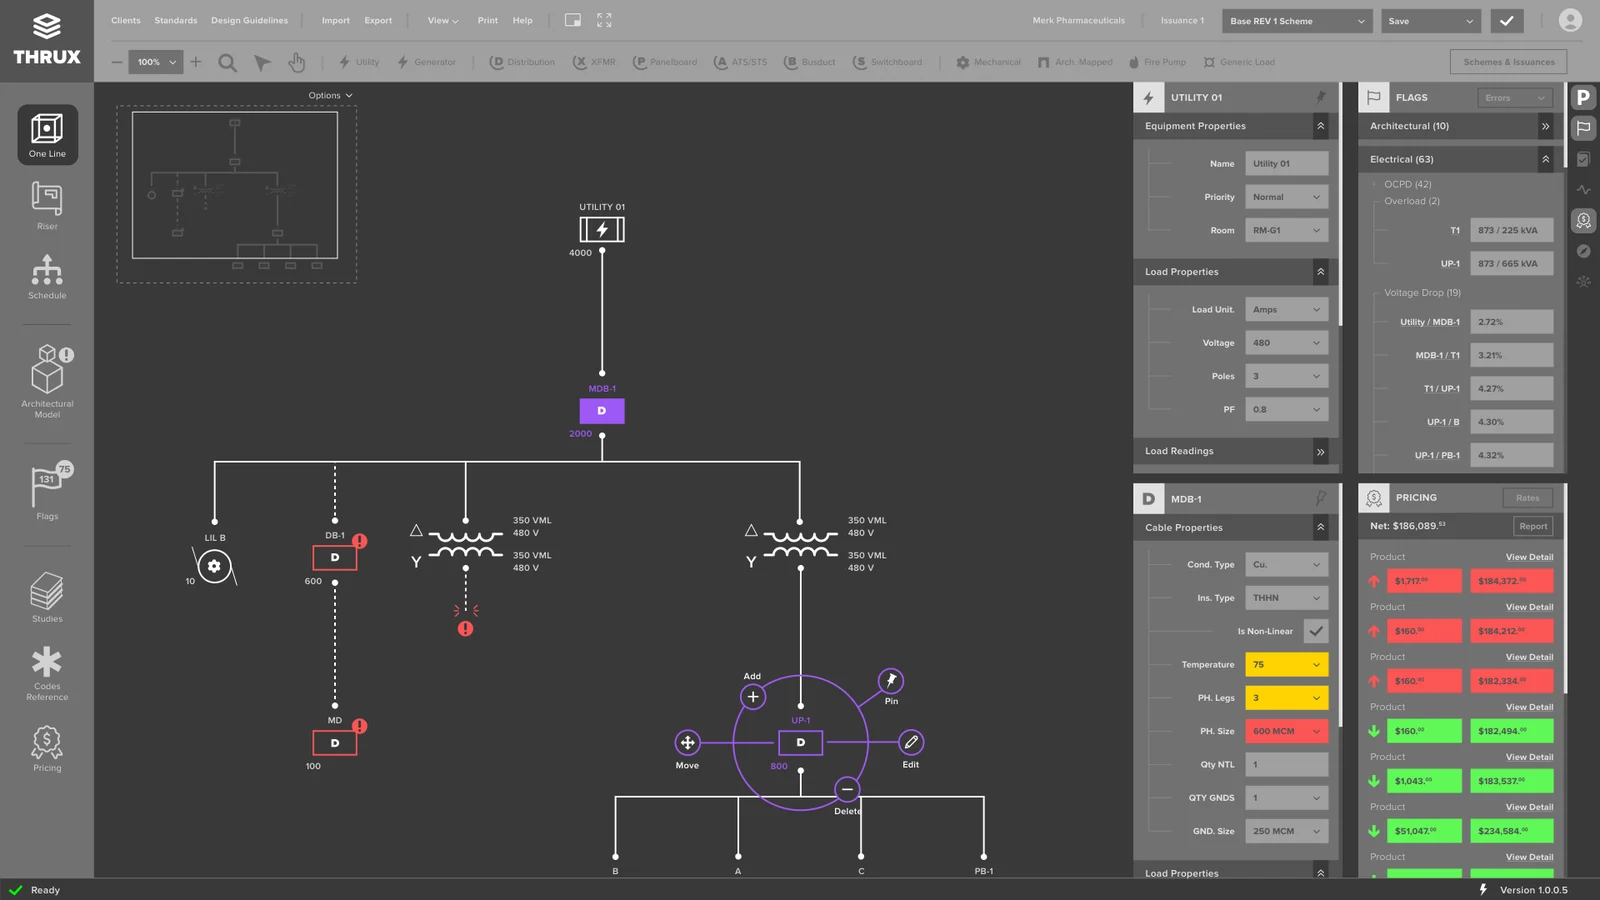
Anatomy of the workspace
The one-line itself, with a navigator map and a radial menu on whatever’s selected.
The workspaces down the side: one-line, riser, schedule, architectural model, flags, studies, codes, pricing.
Clients, standards and design guidelines, import and export, and the project, issuance and scheme you’re in.
The tools for this workspace, down to the equipment you can drop in: utility, generator, transformer, panelboard, busduct.
Everything about the selection, docked: equipment, load and cable properties.
The checks and the cost, docked and live, updating as the design changes.
Where the app stands, and which version.
Home: back to the Launchpad.
Seven rounds of the one-line
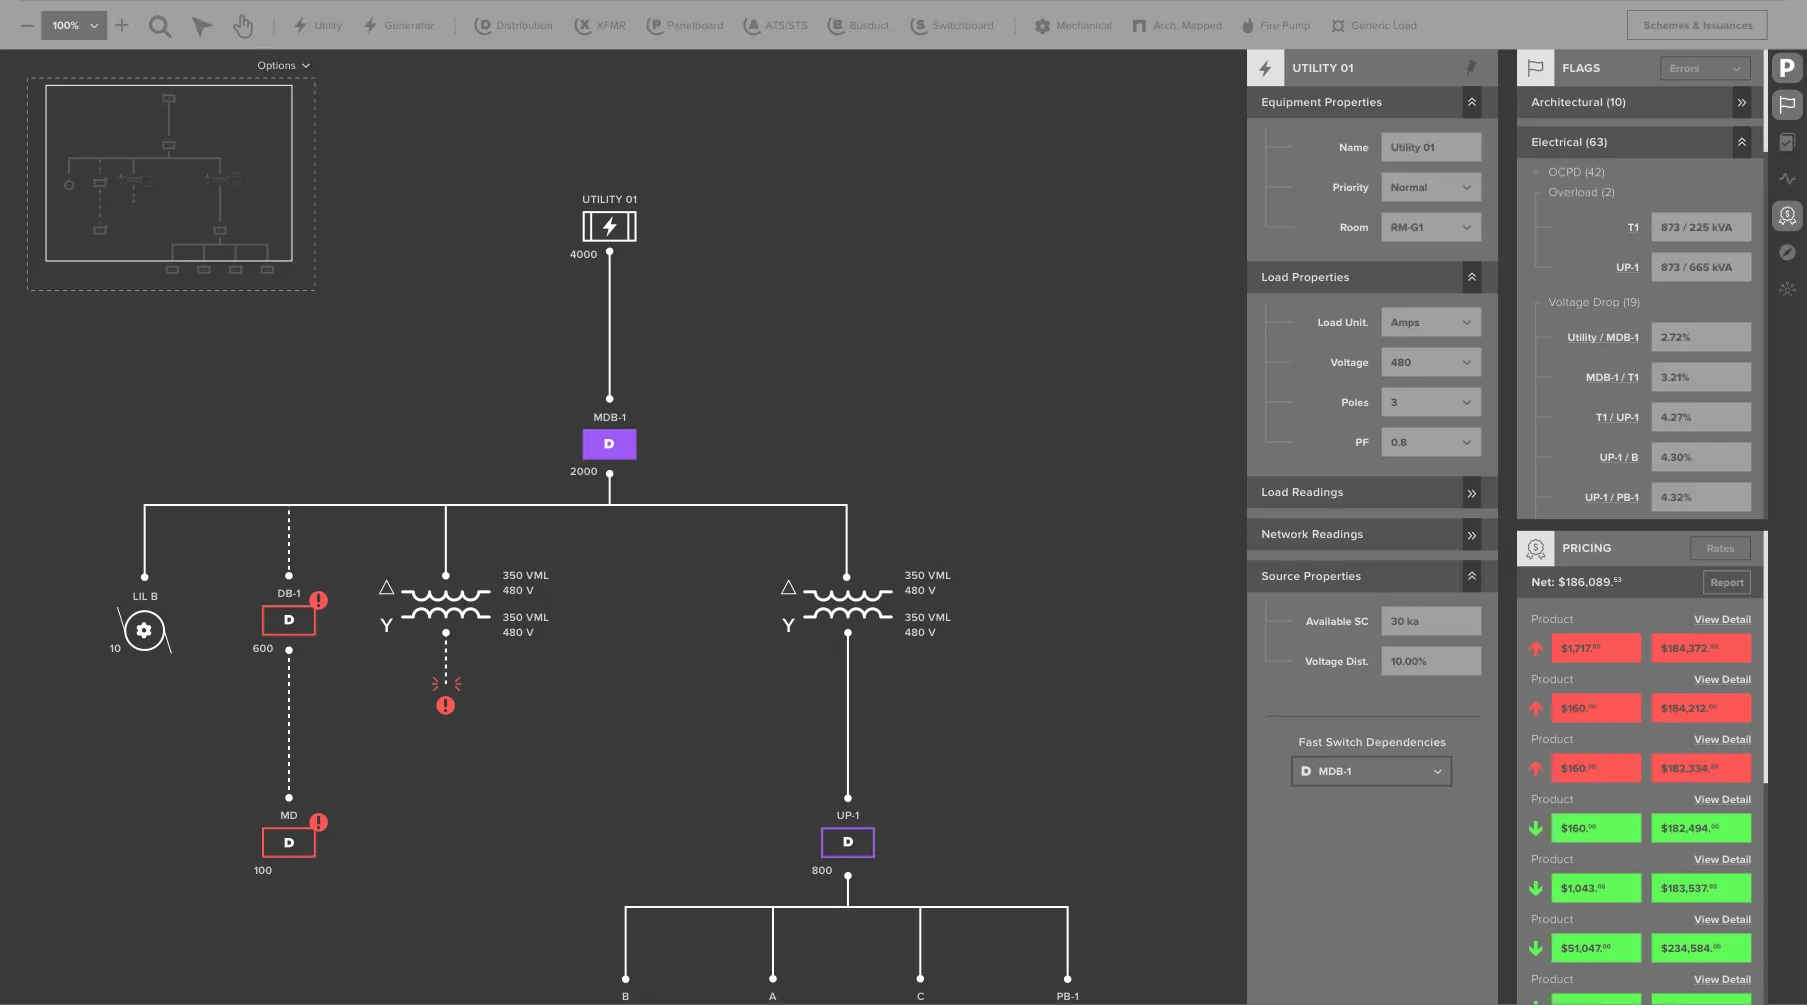
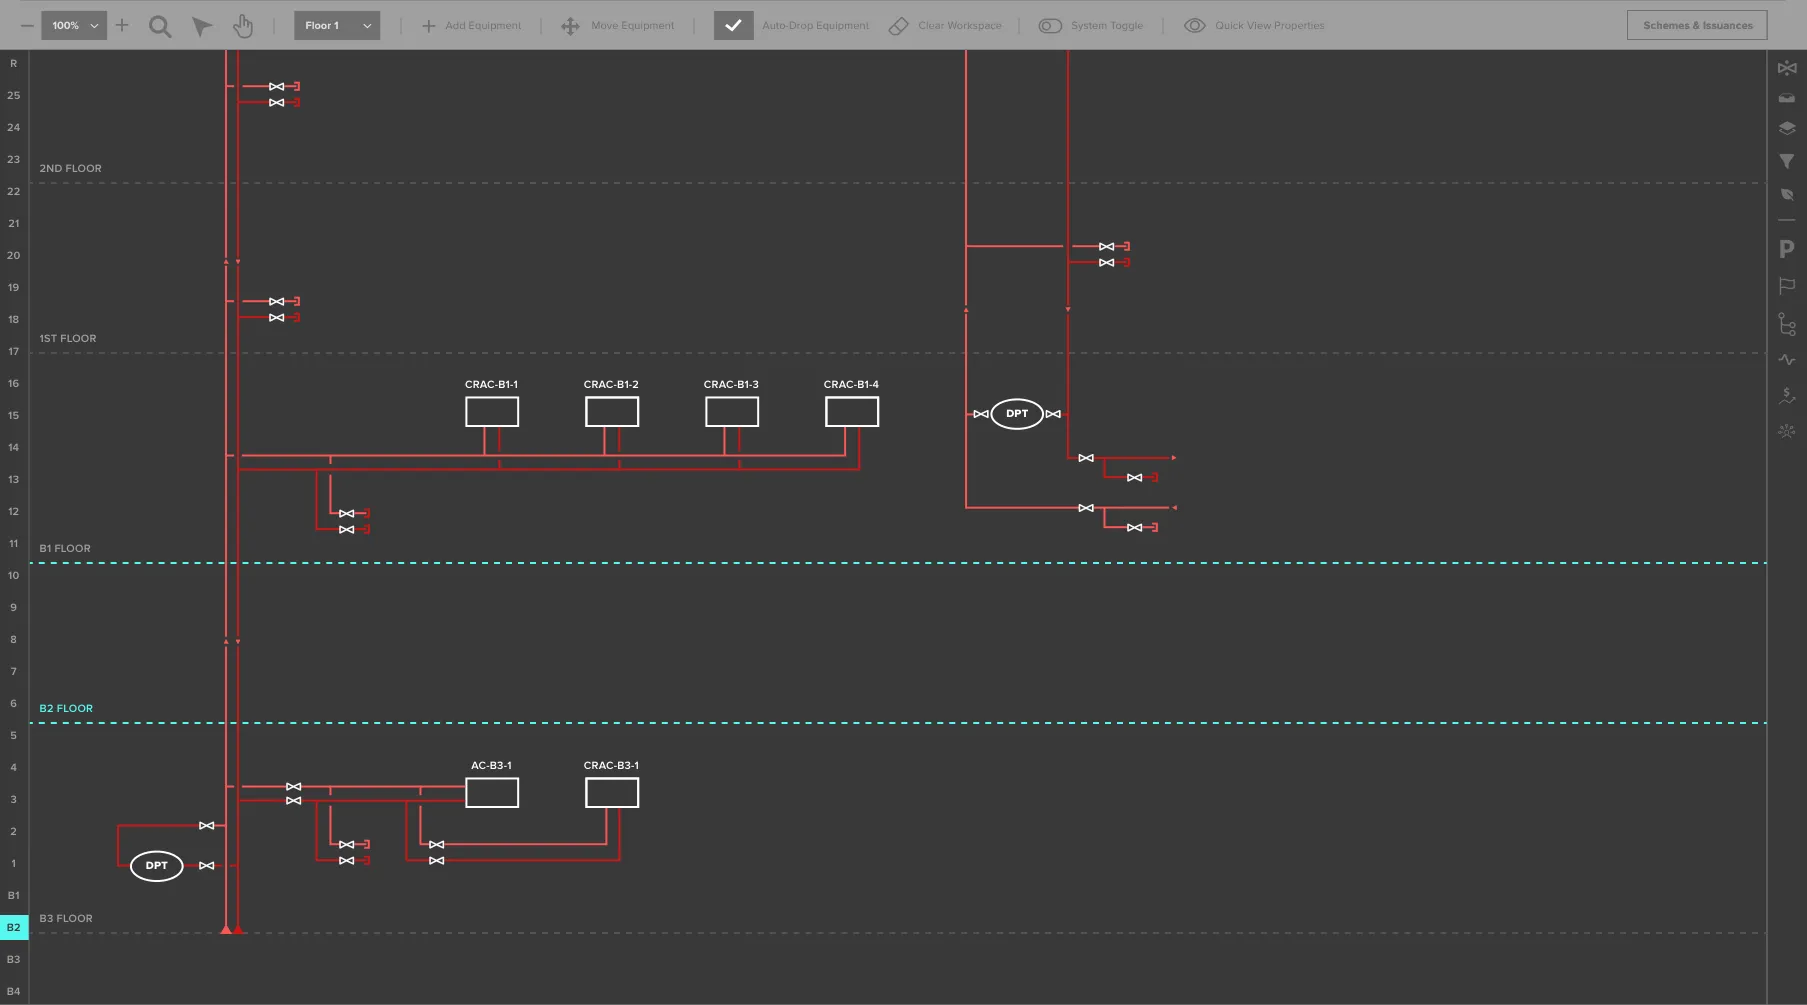
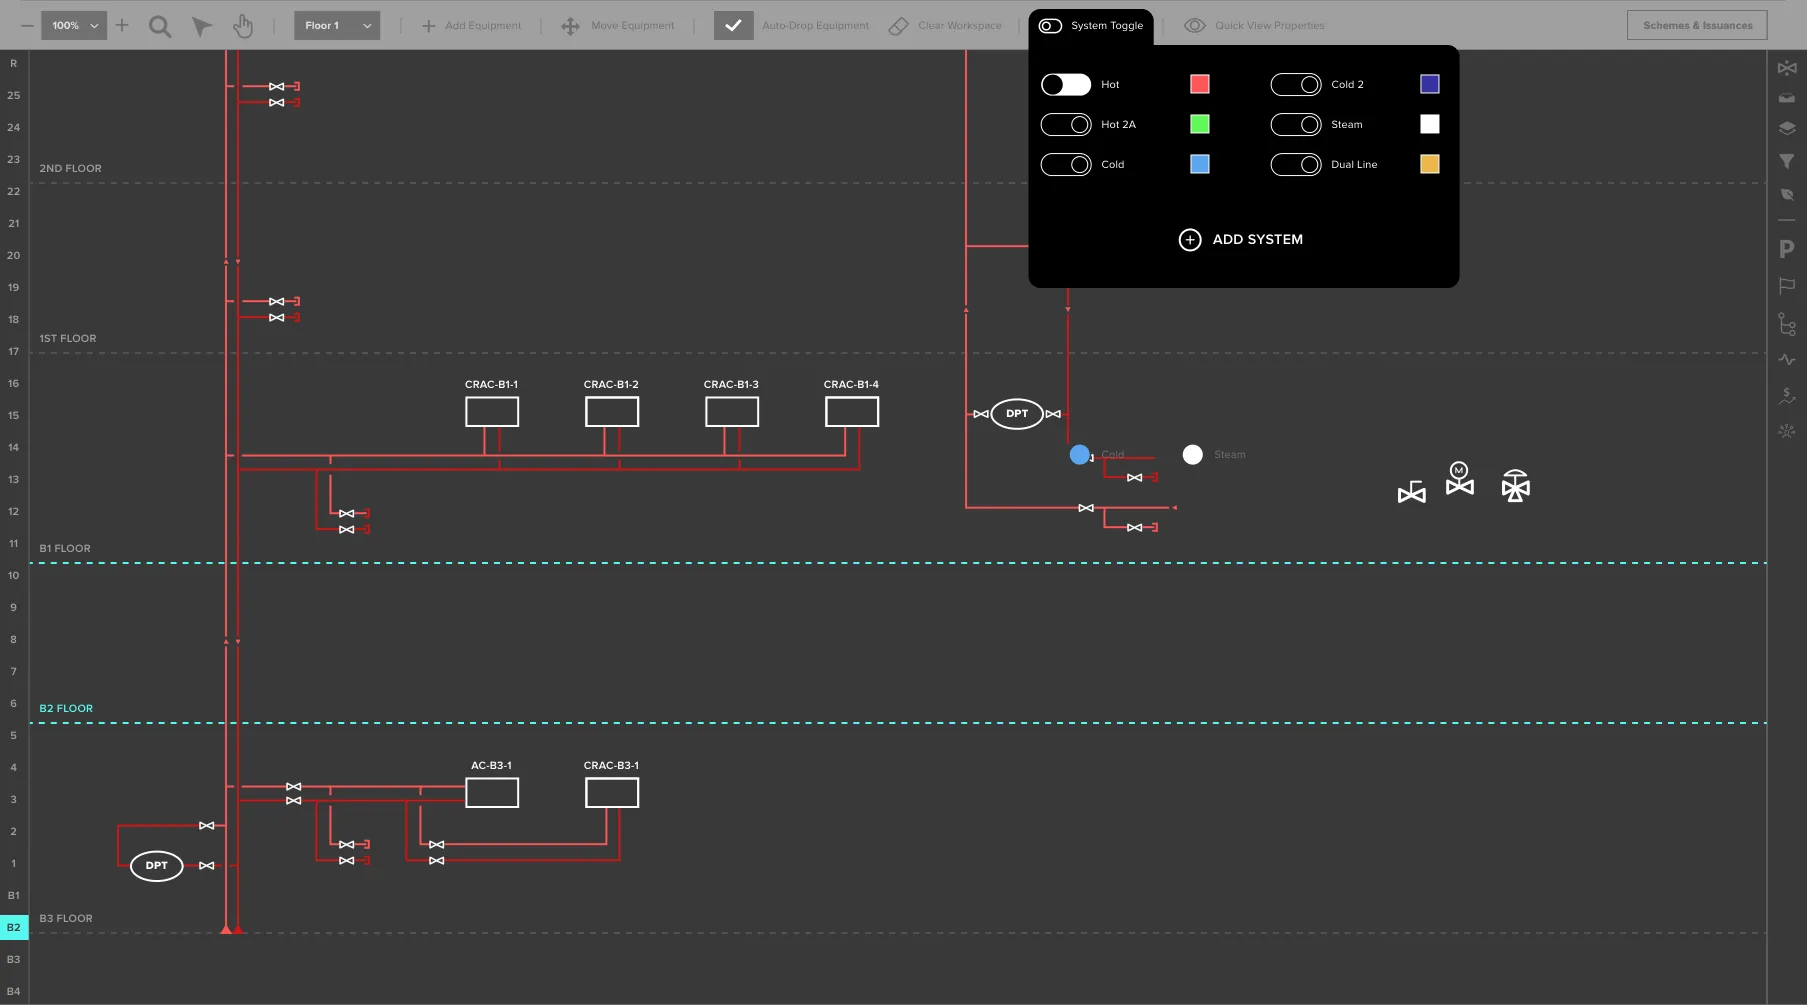
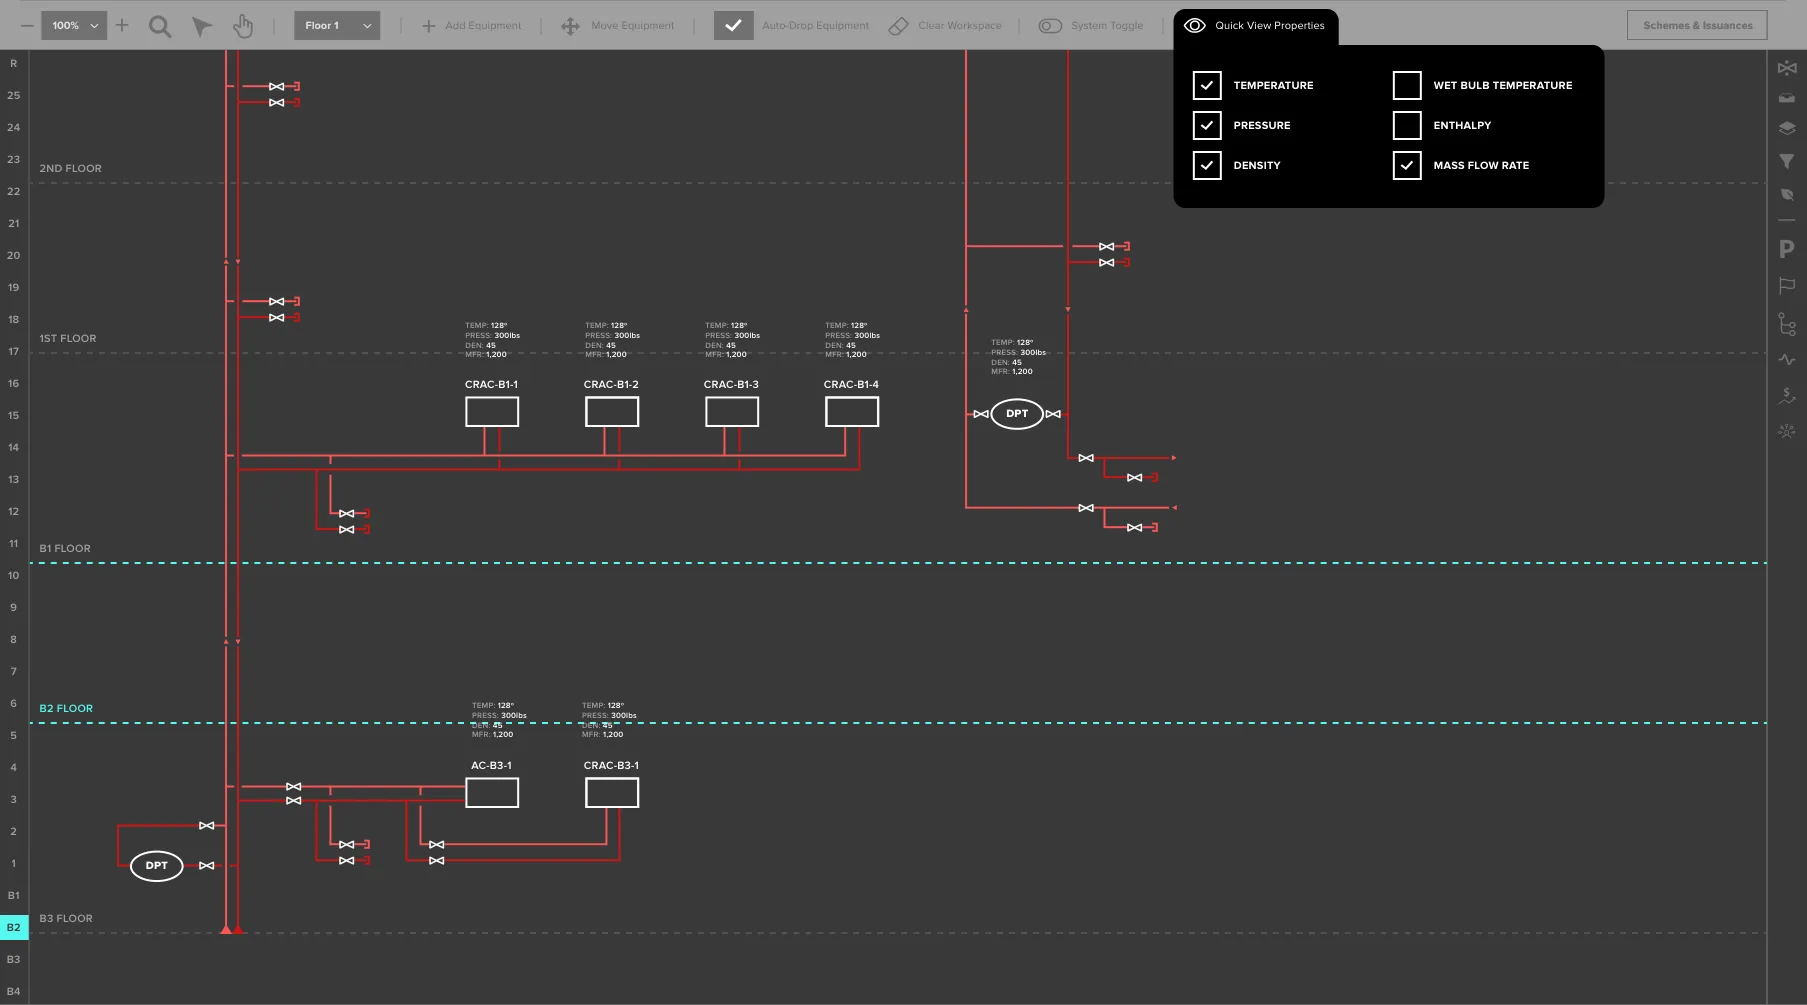
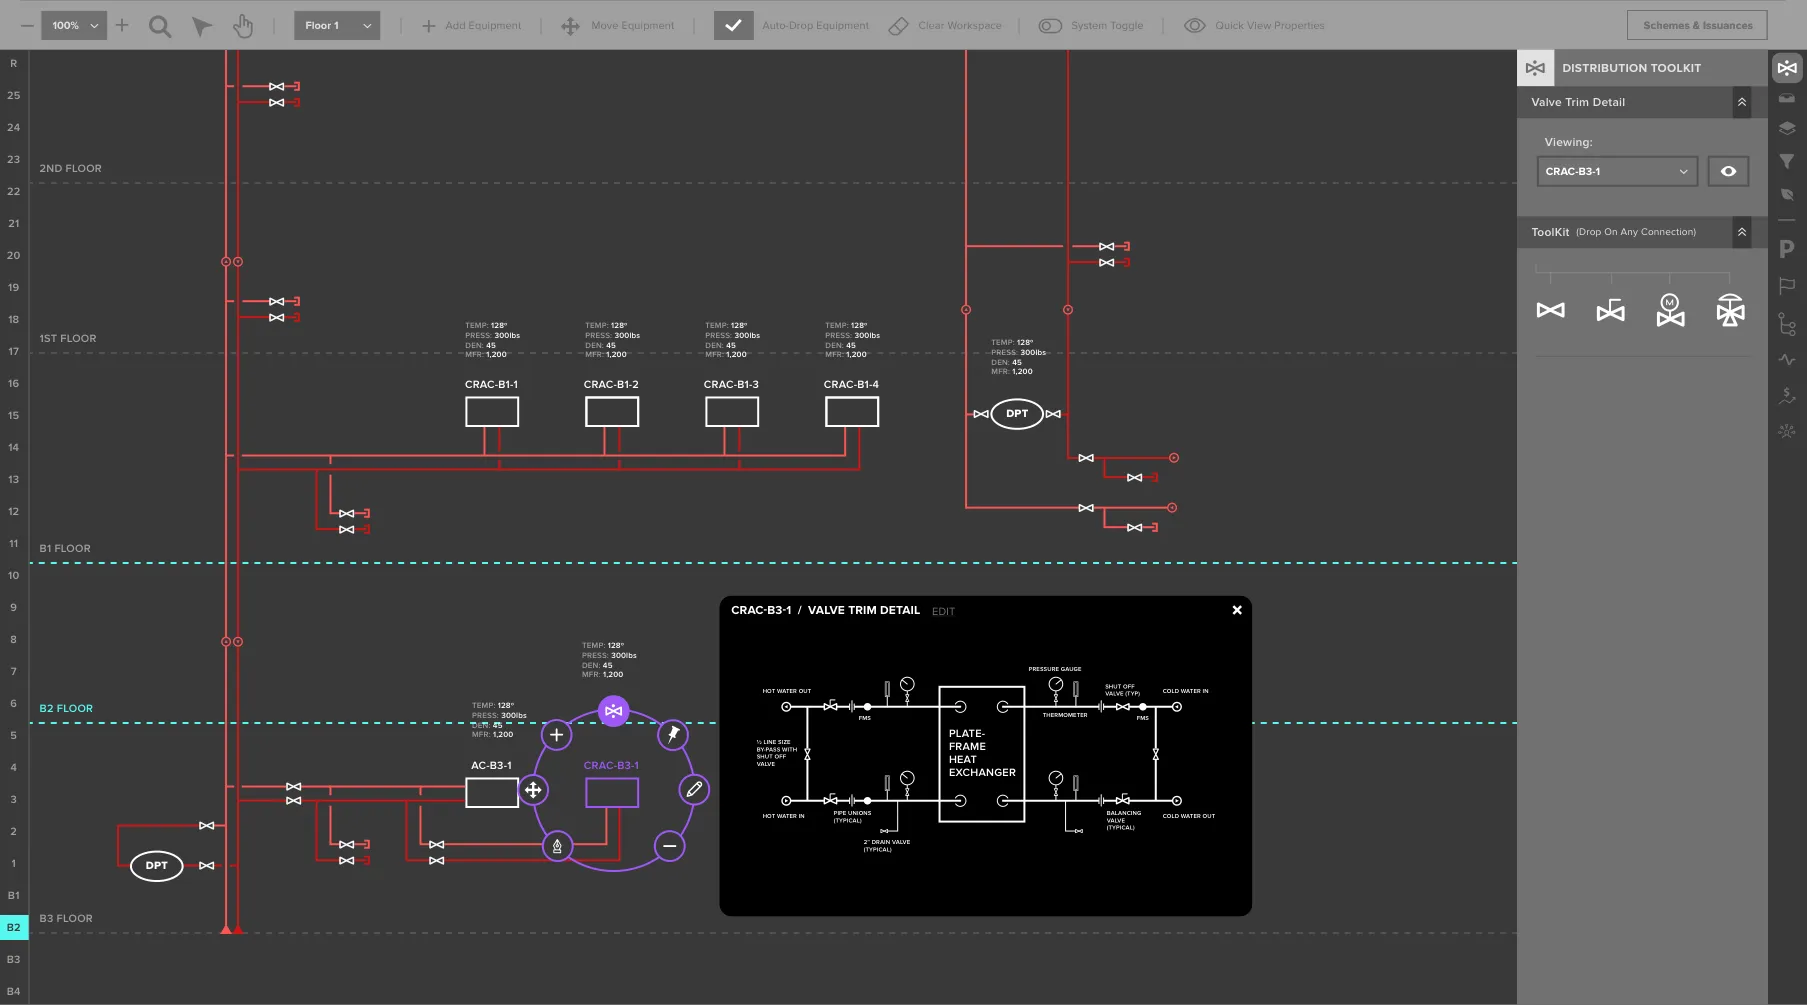
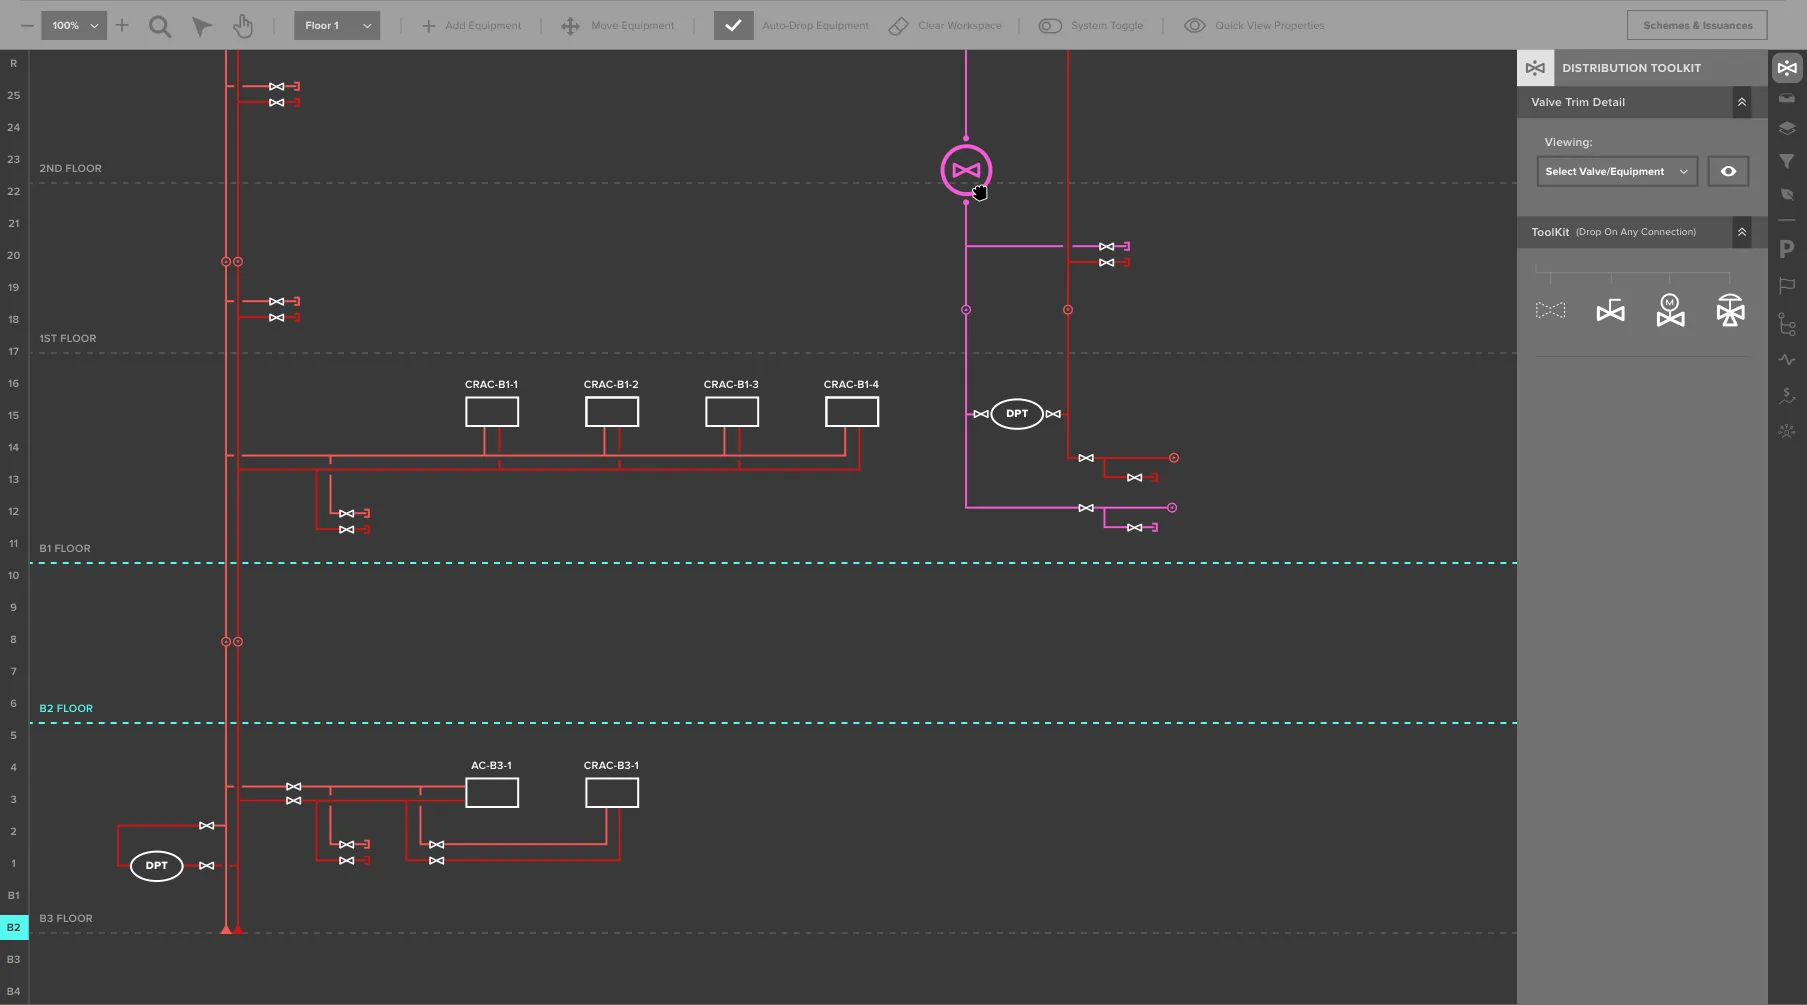
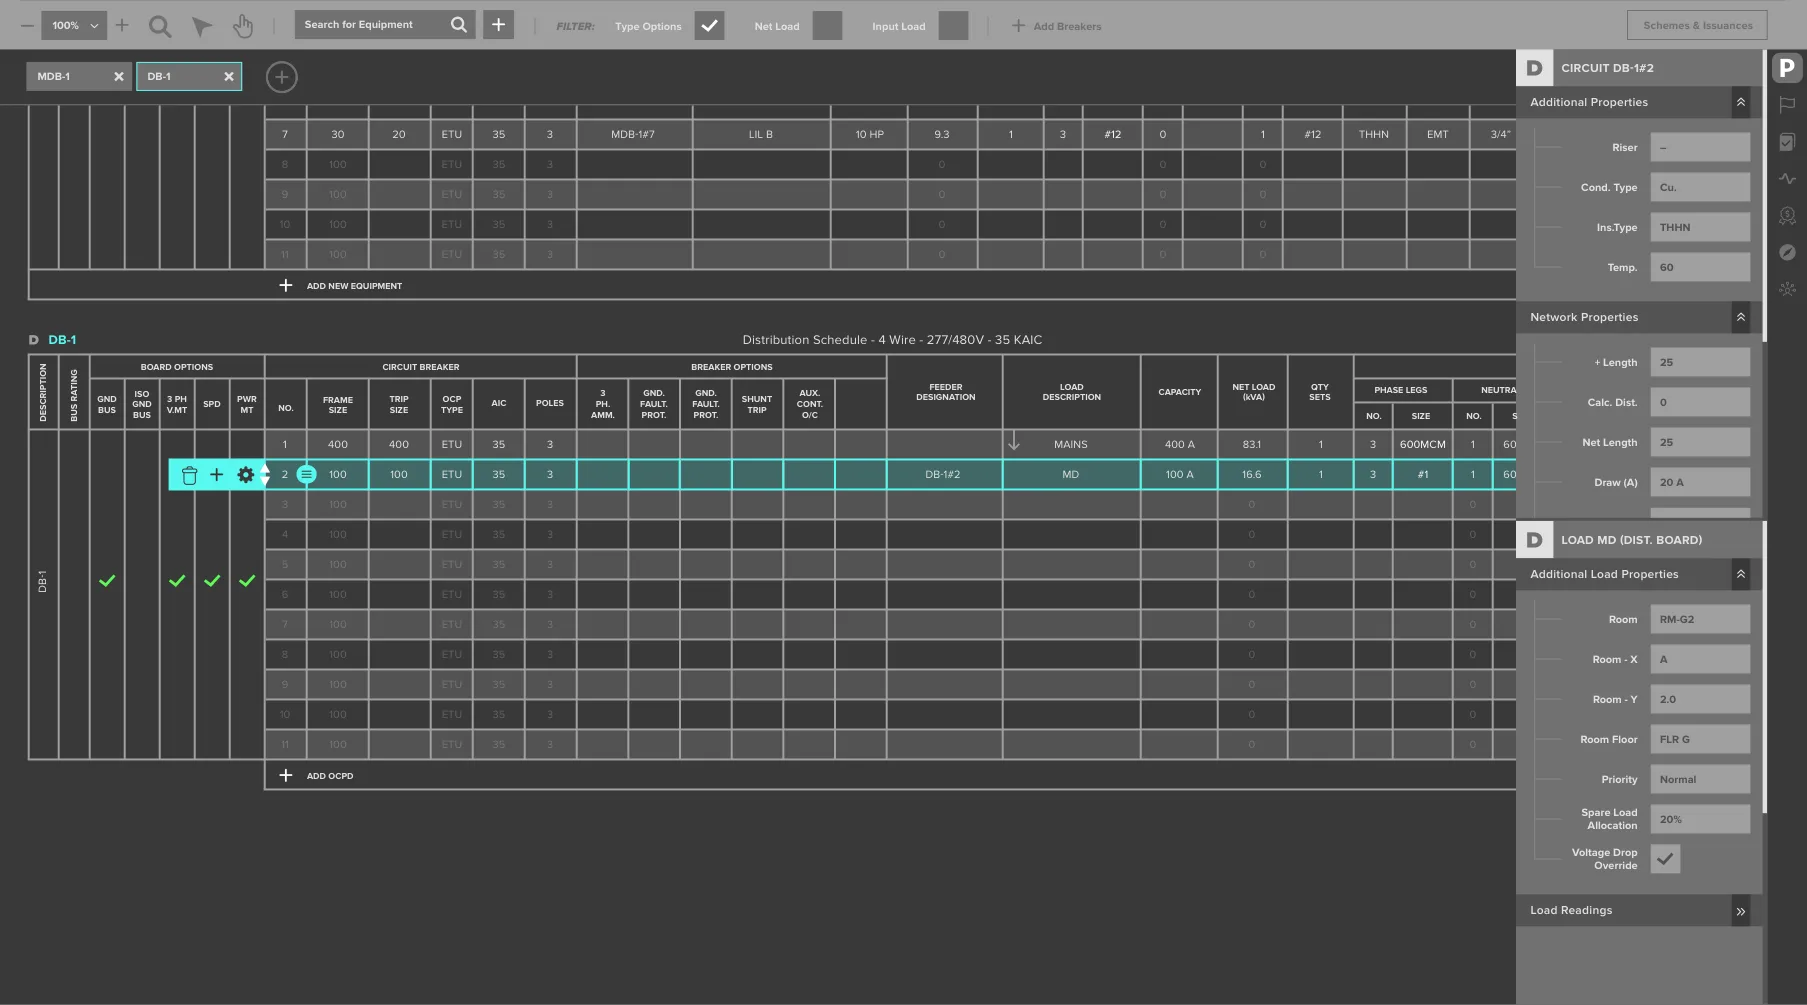
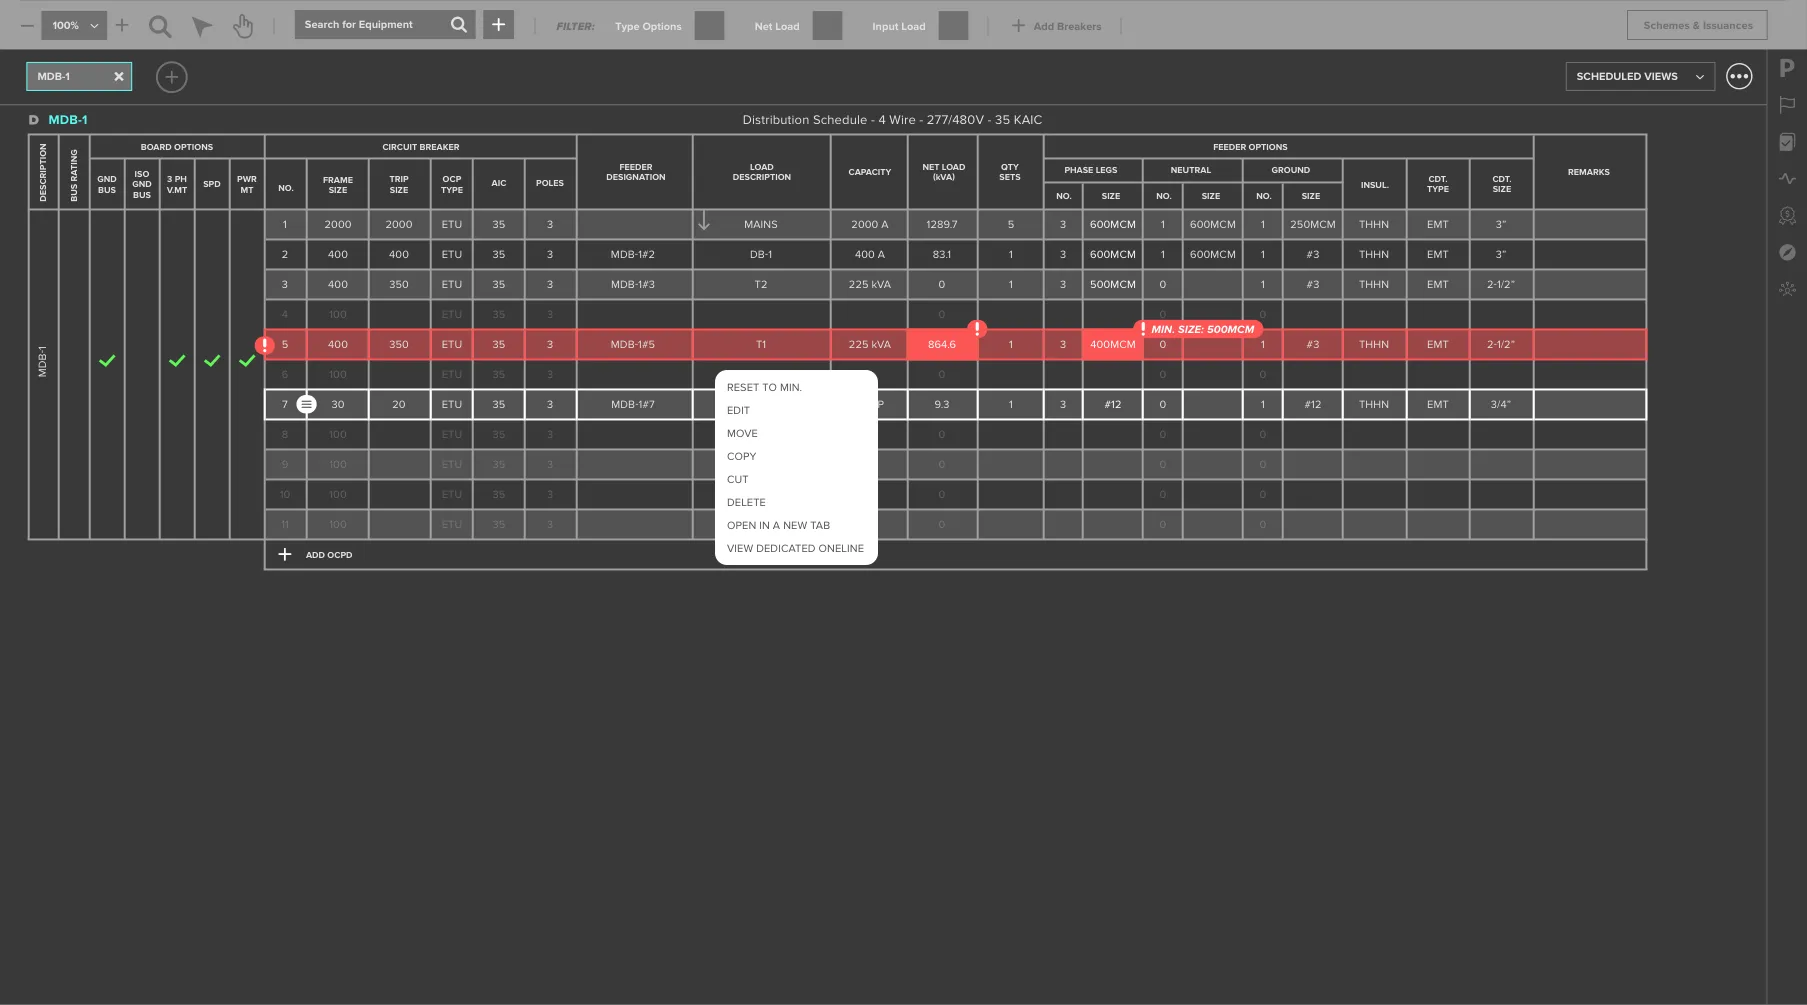
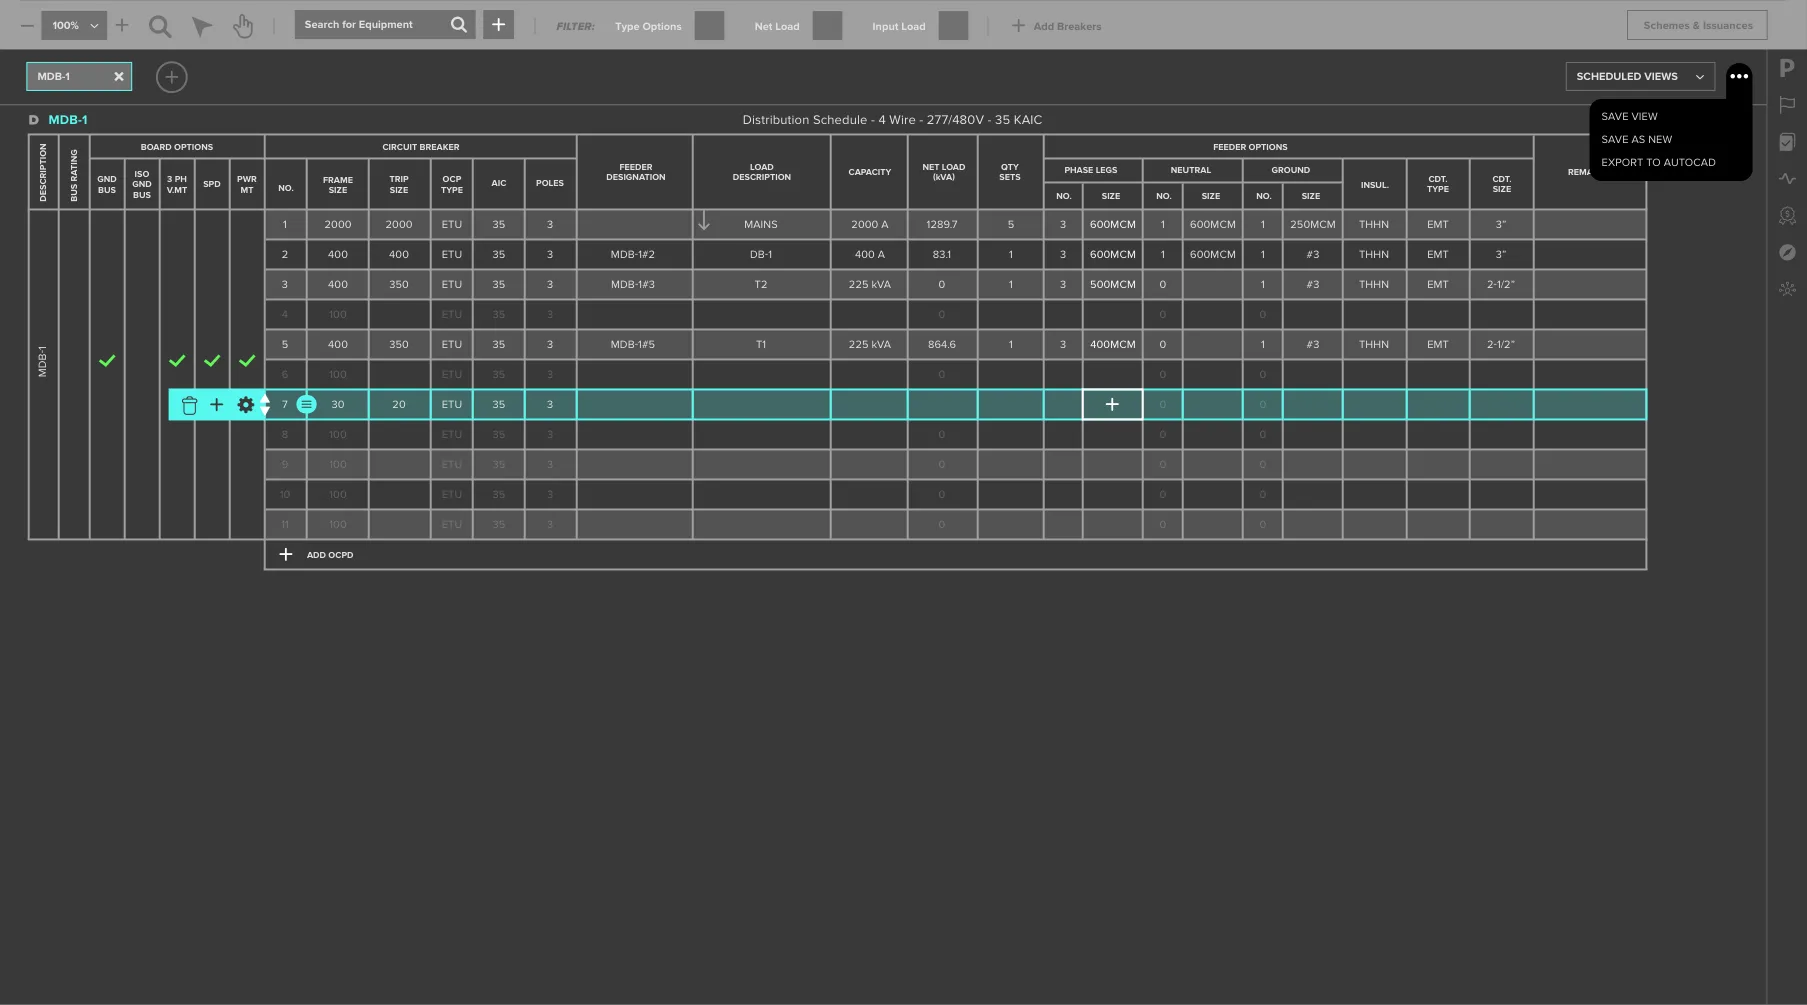
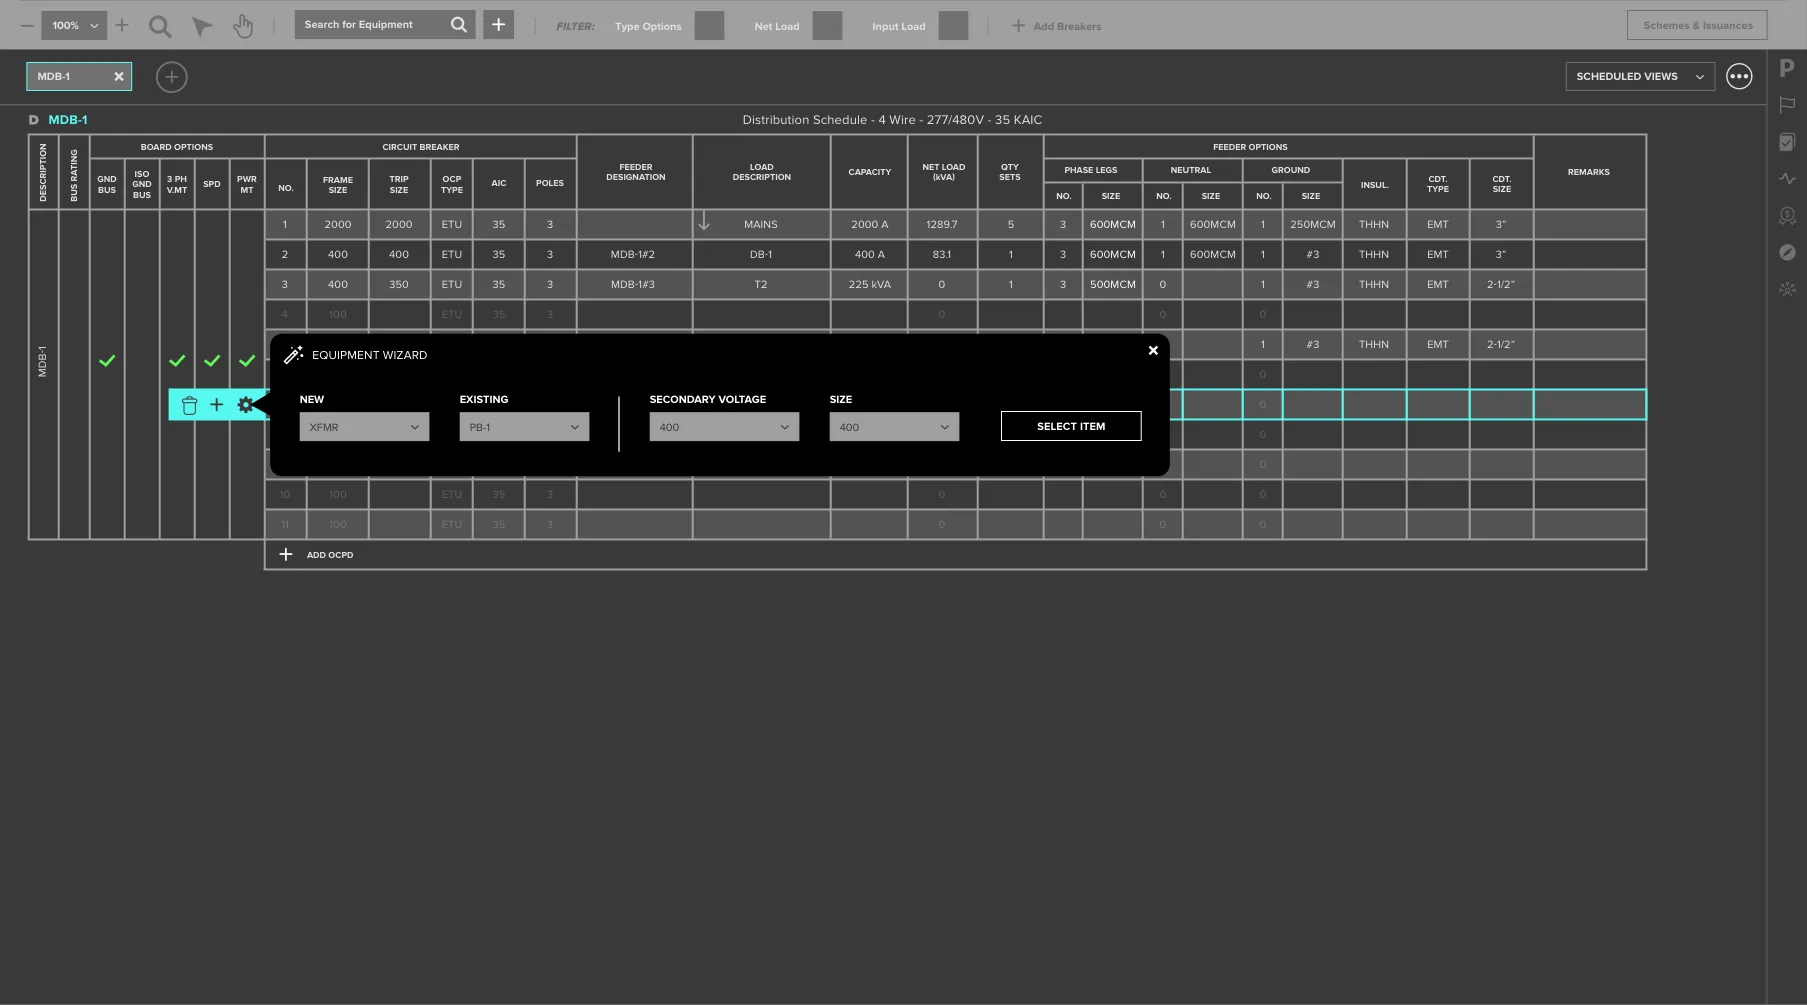
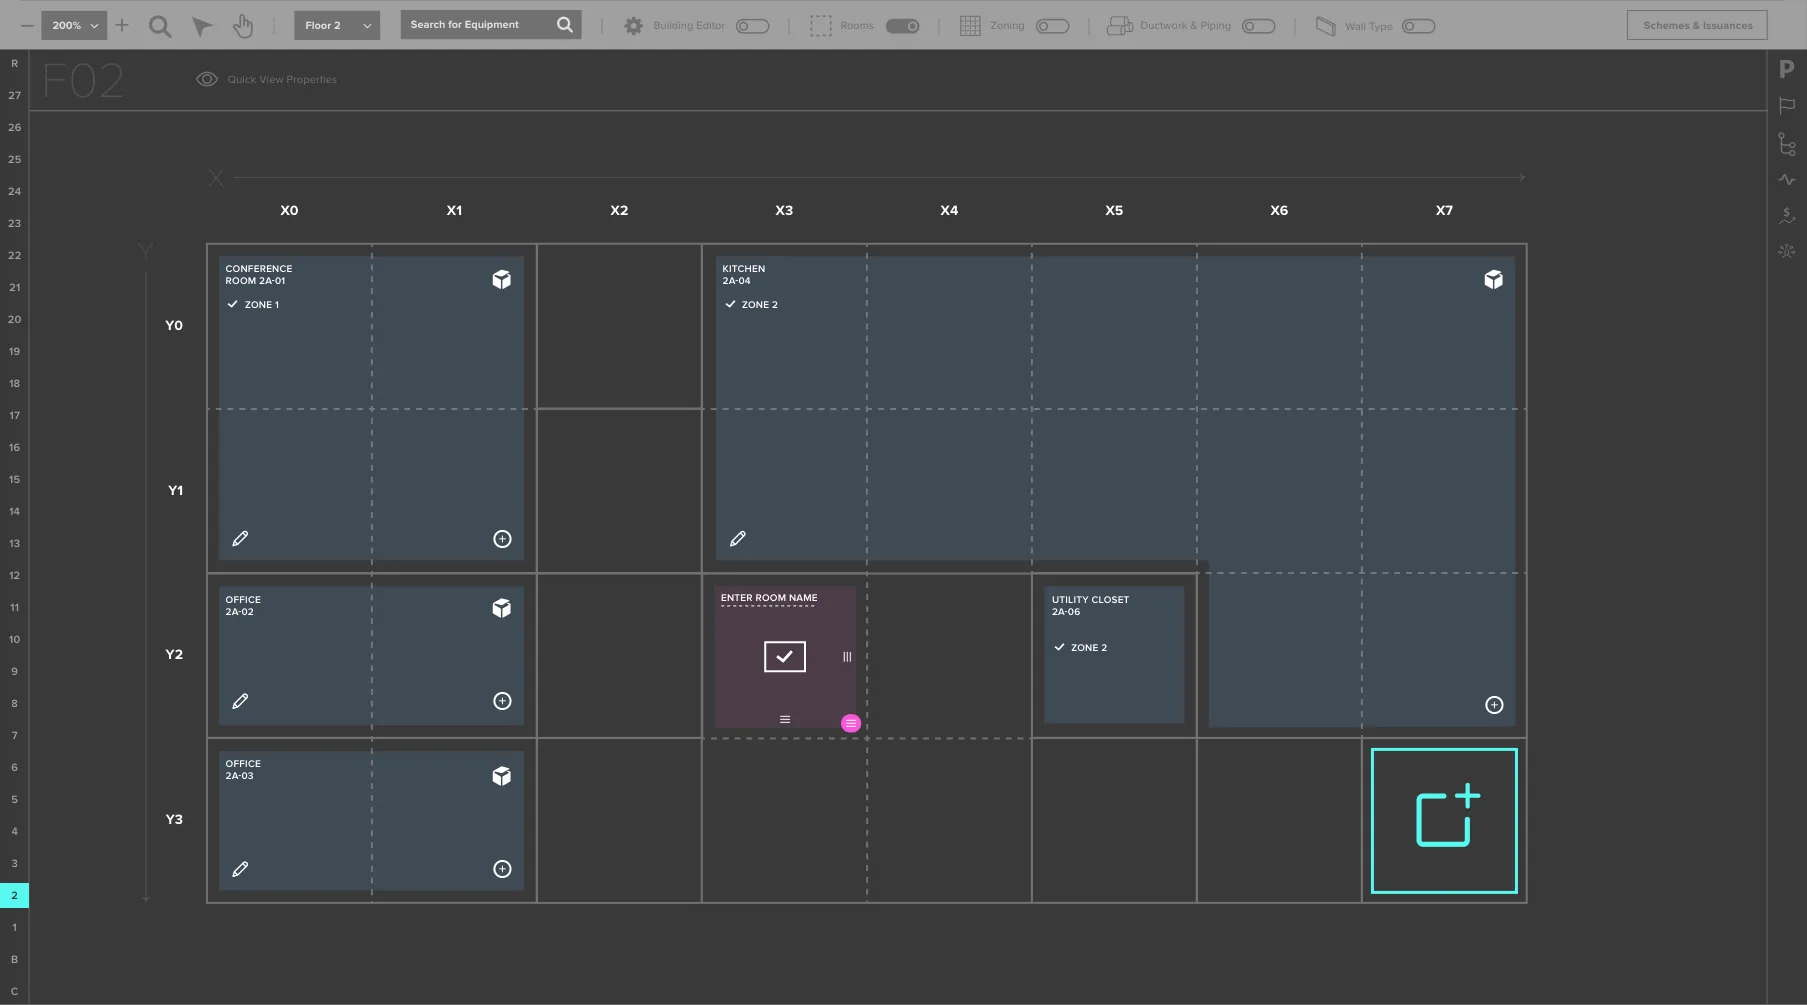
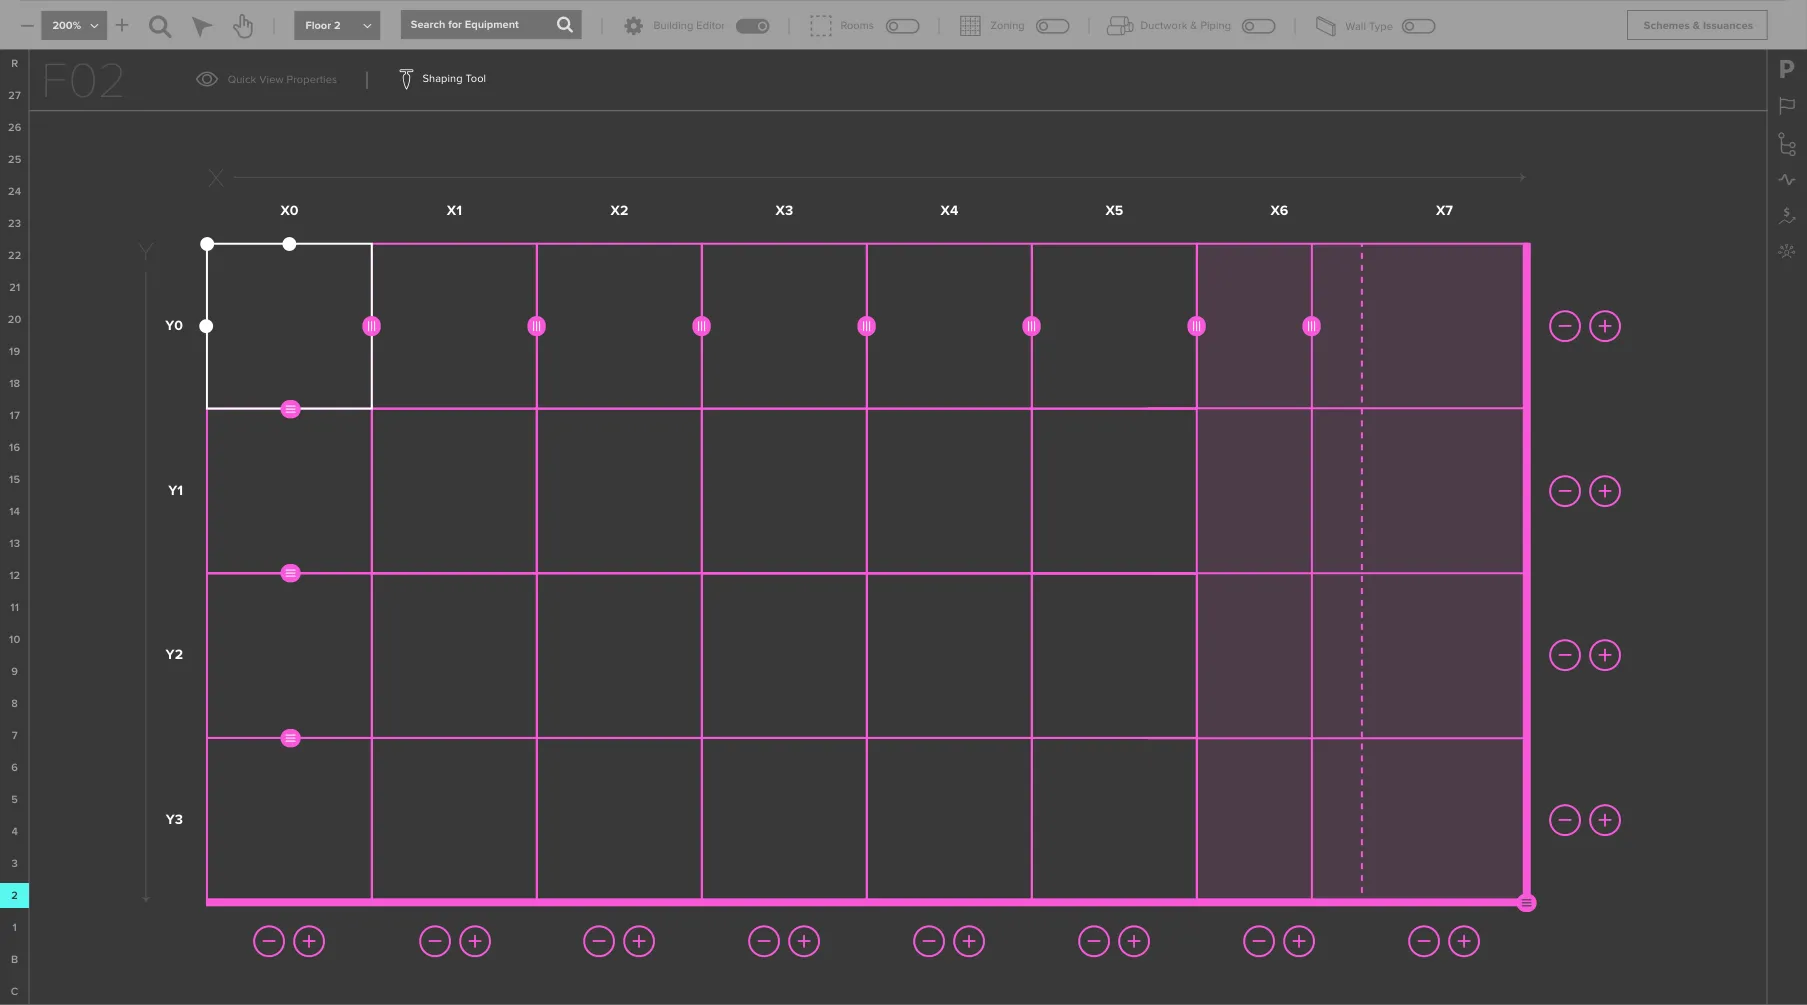
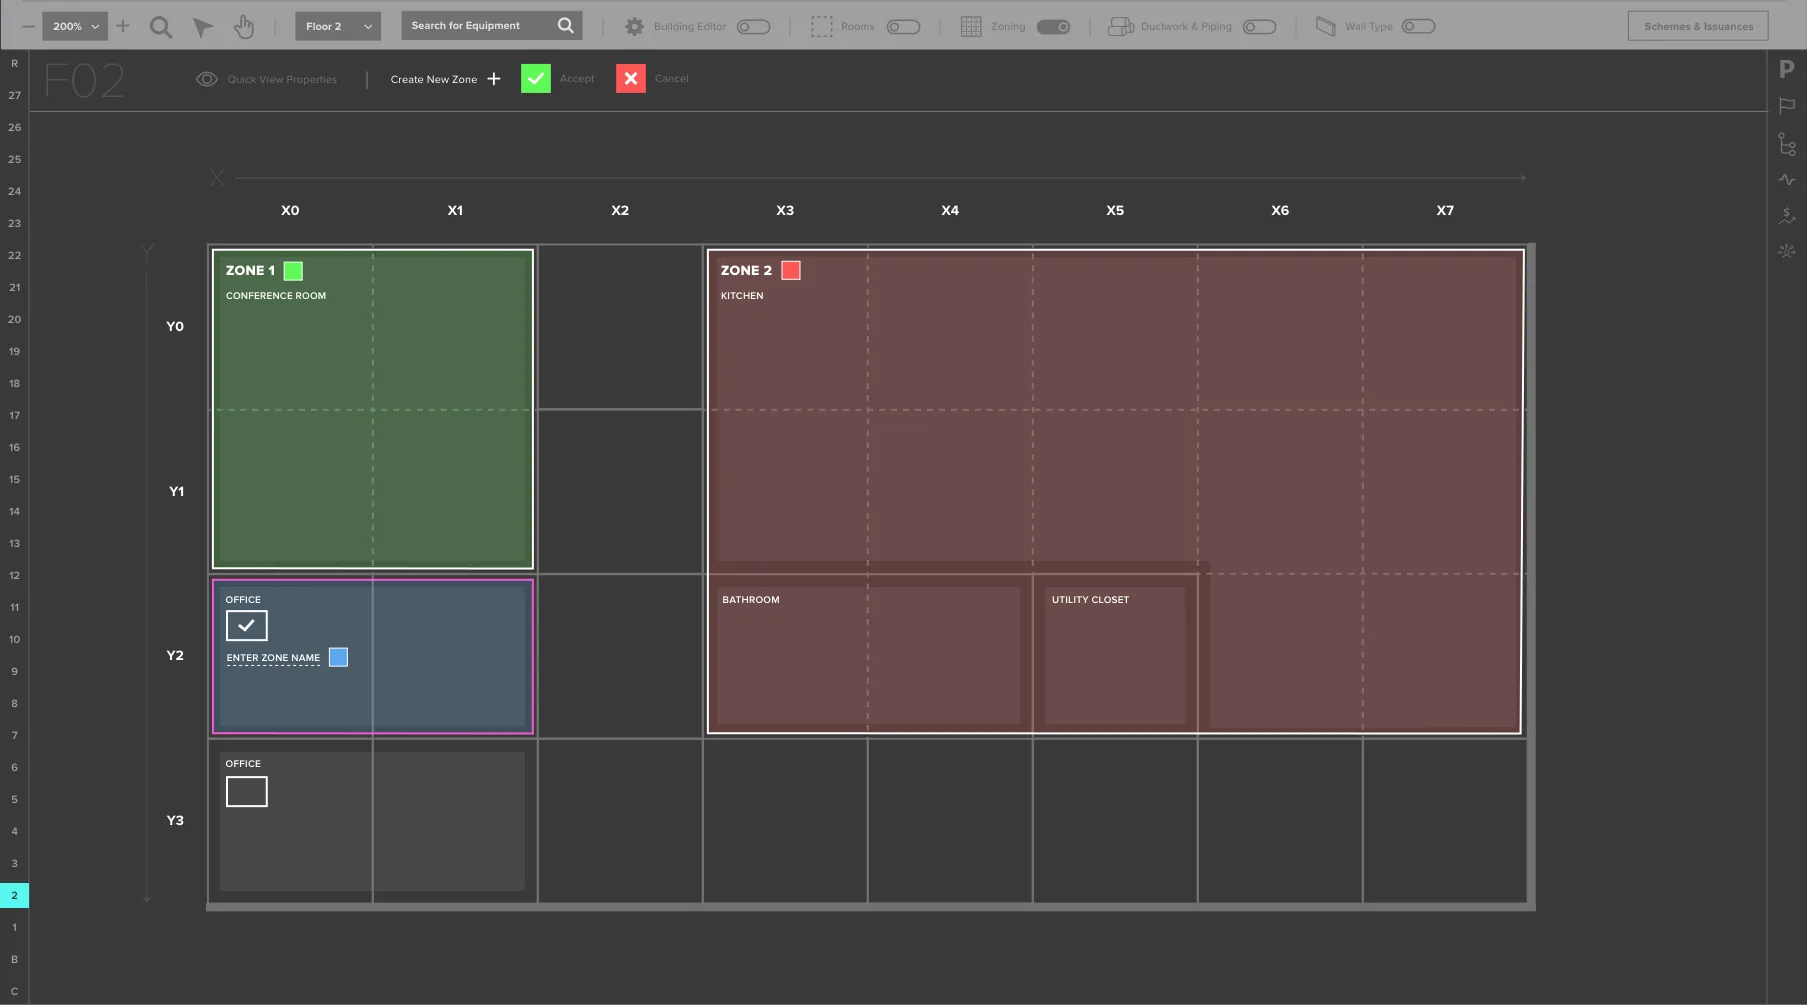
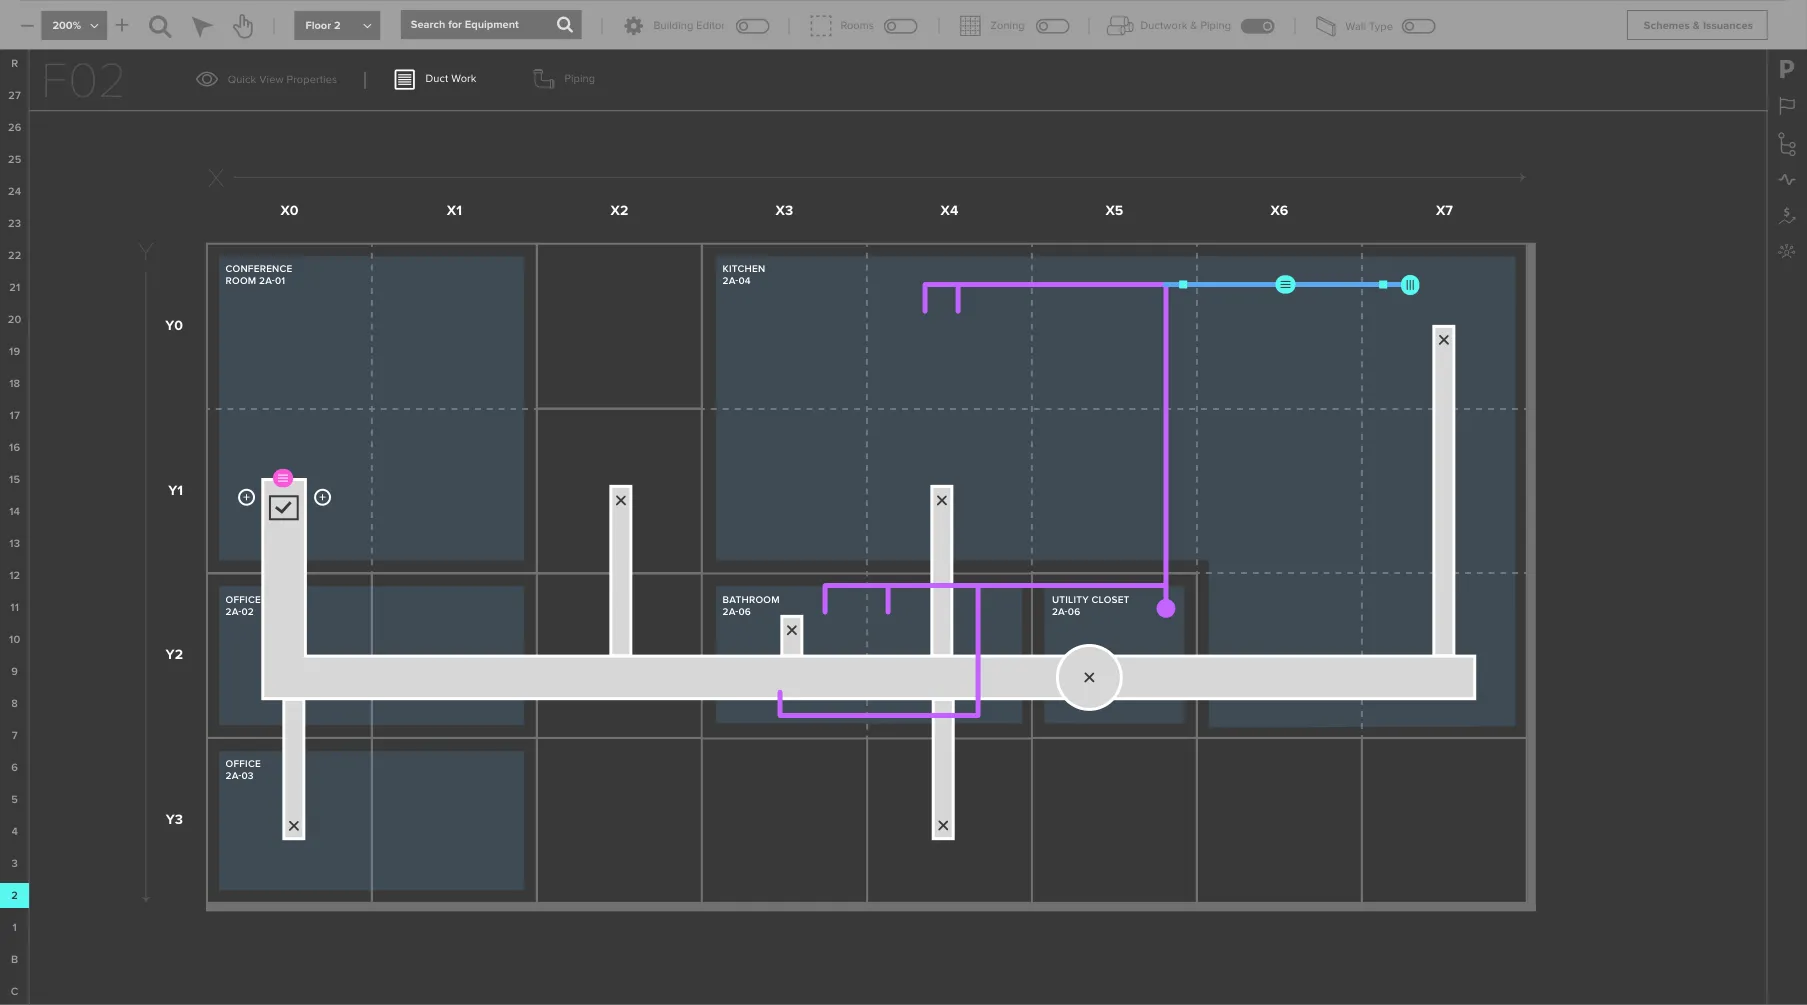
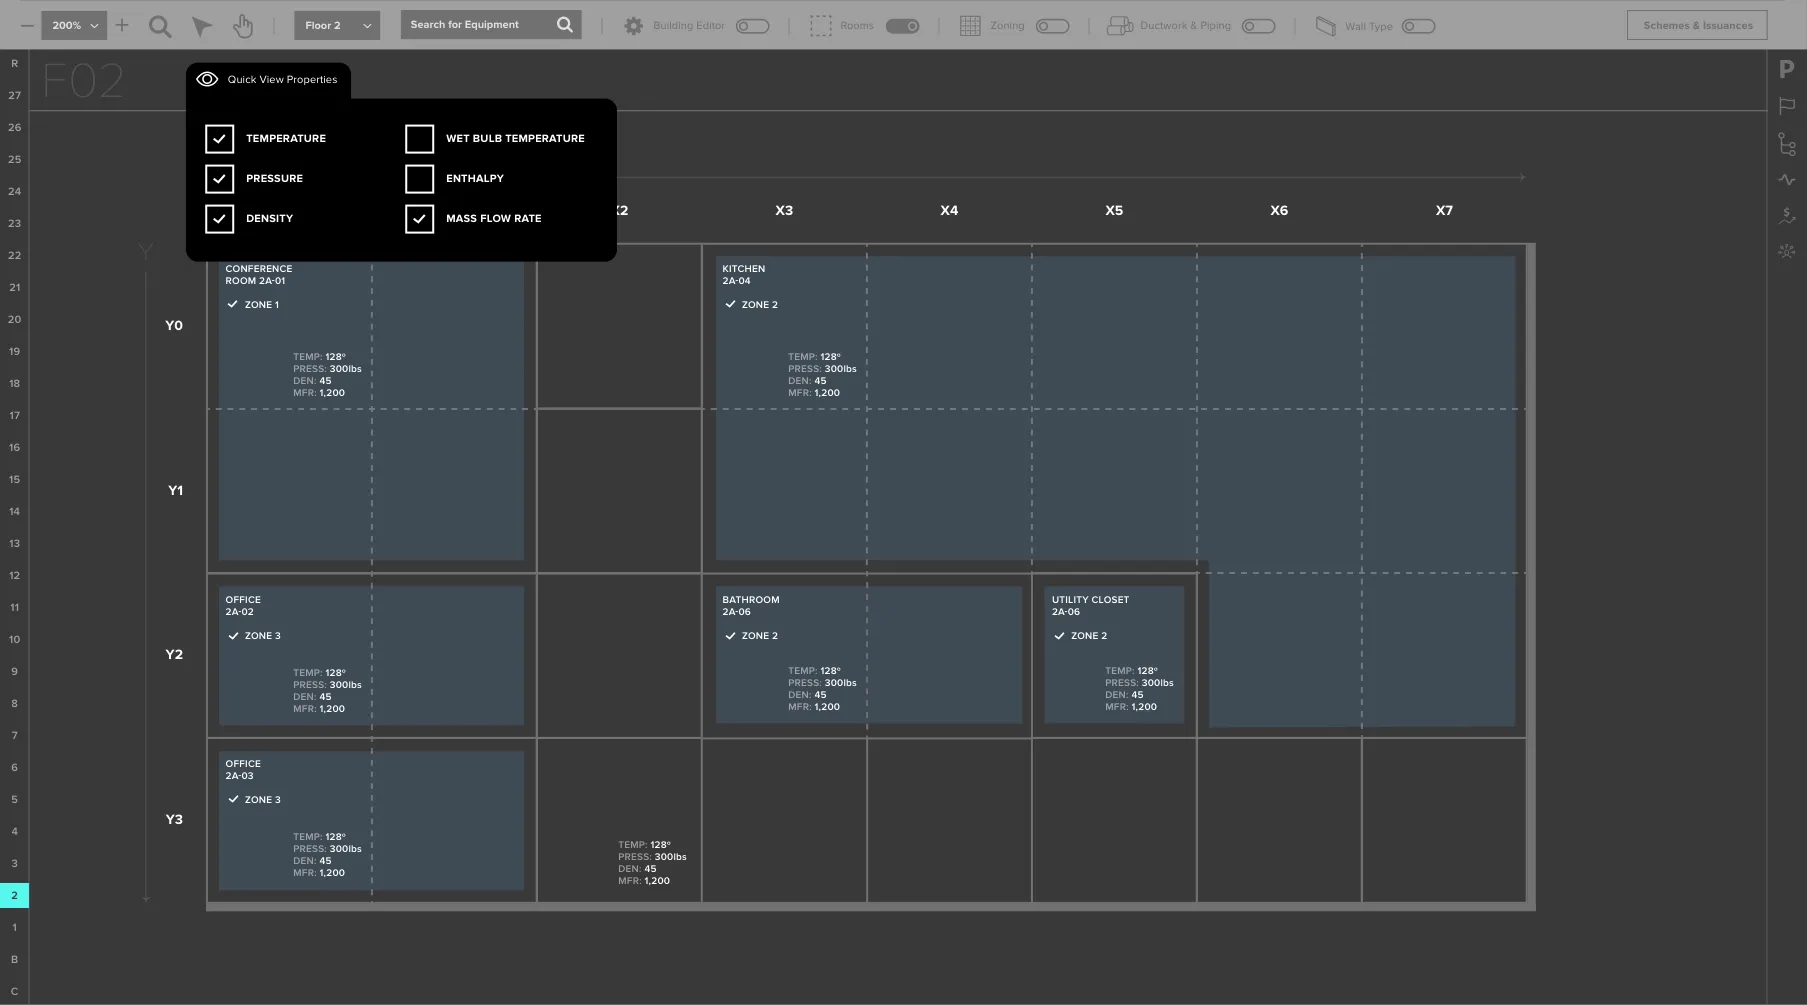
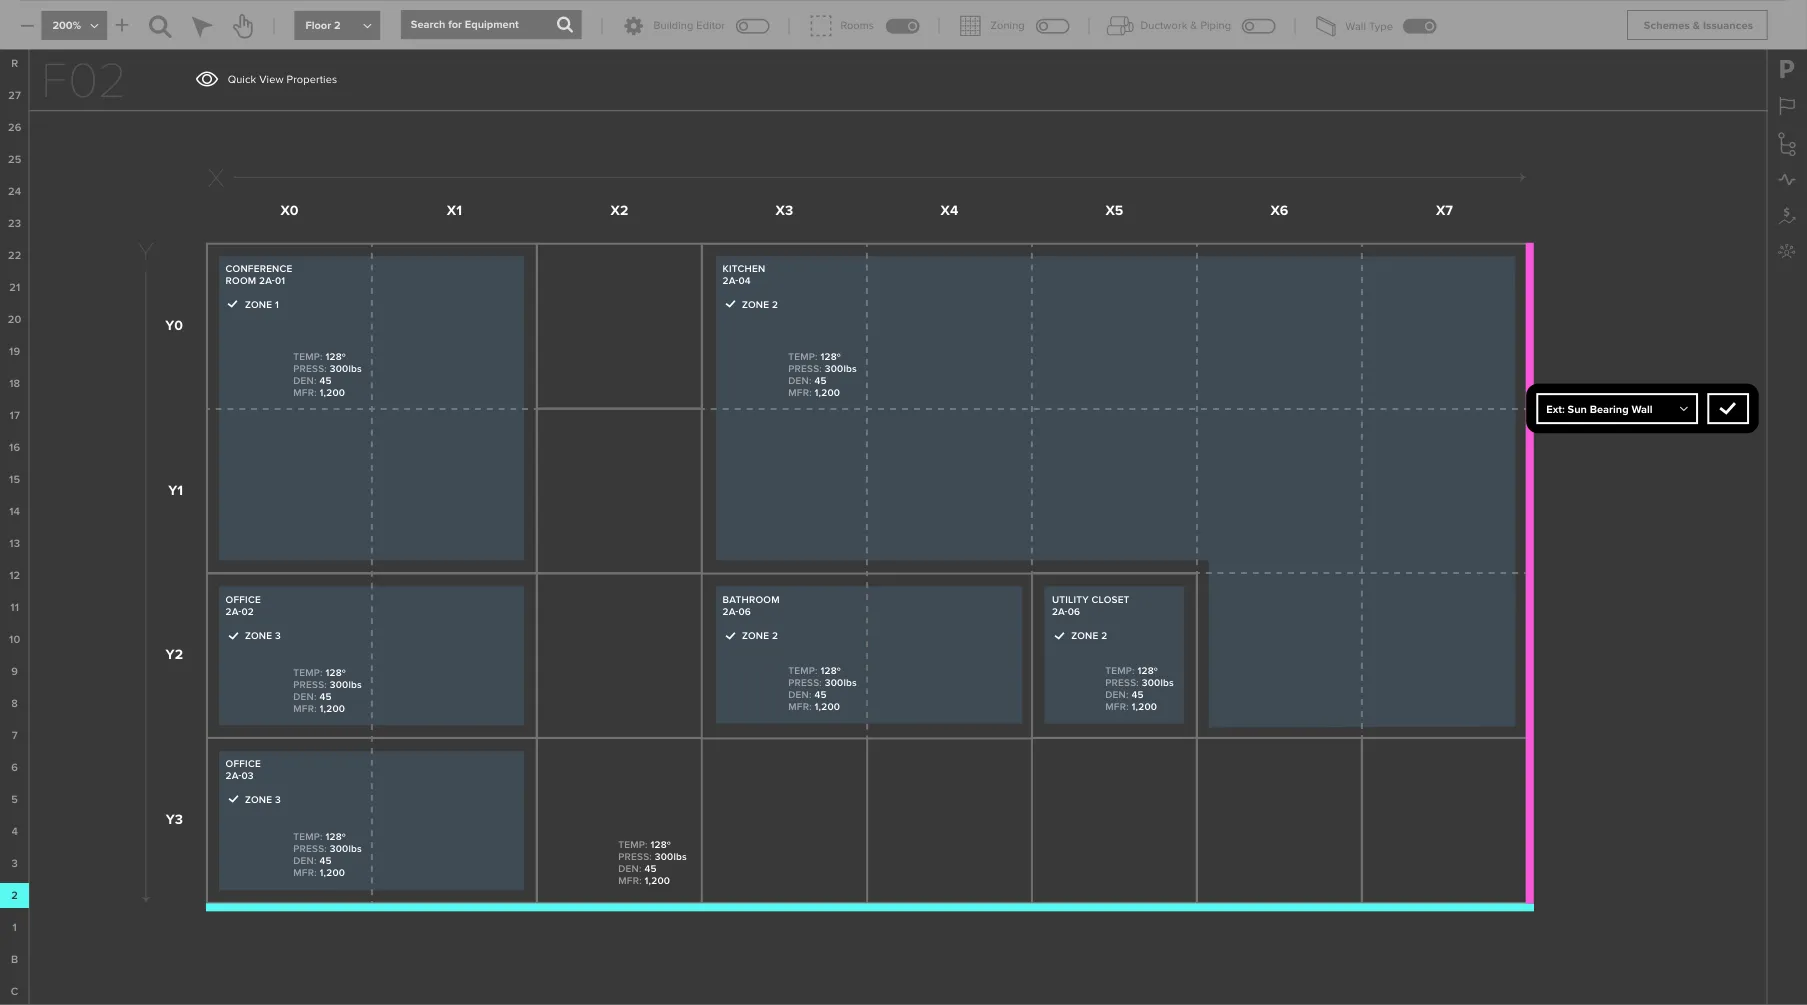
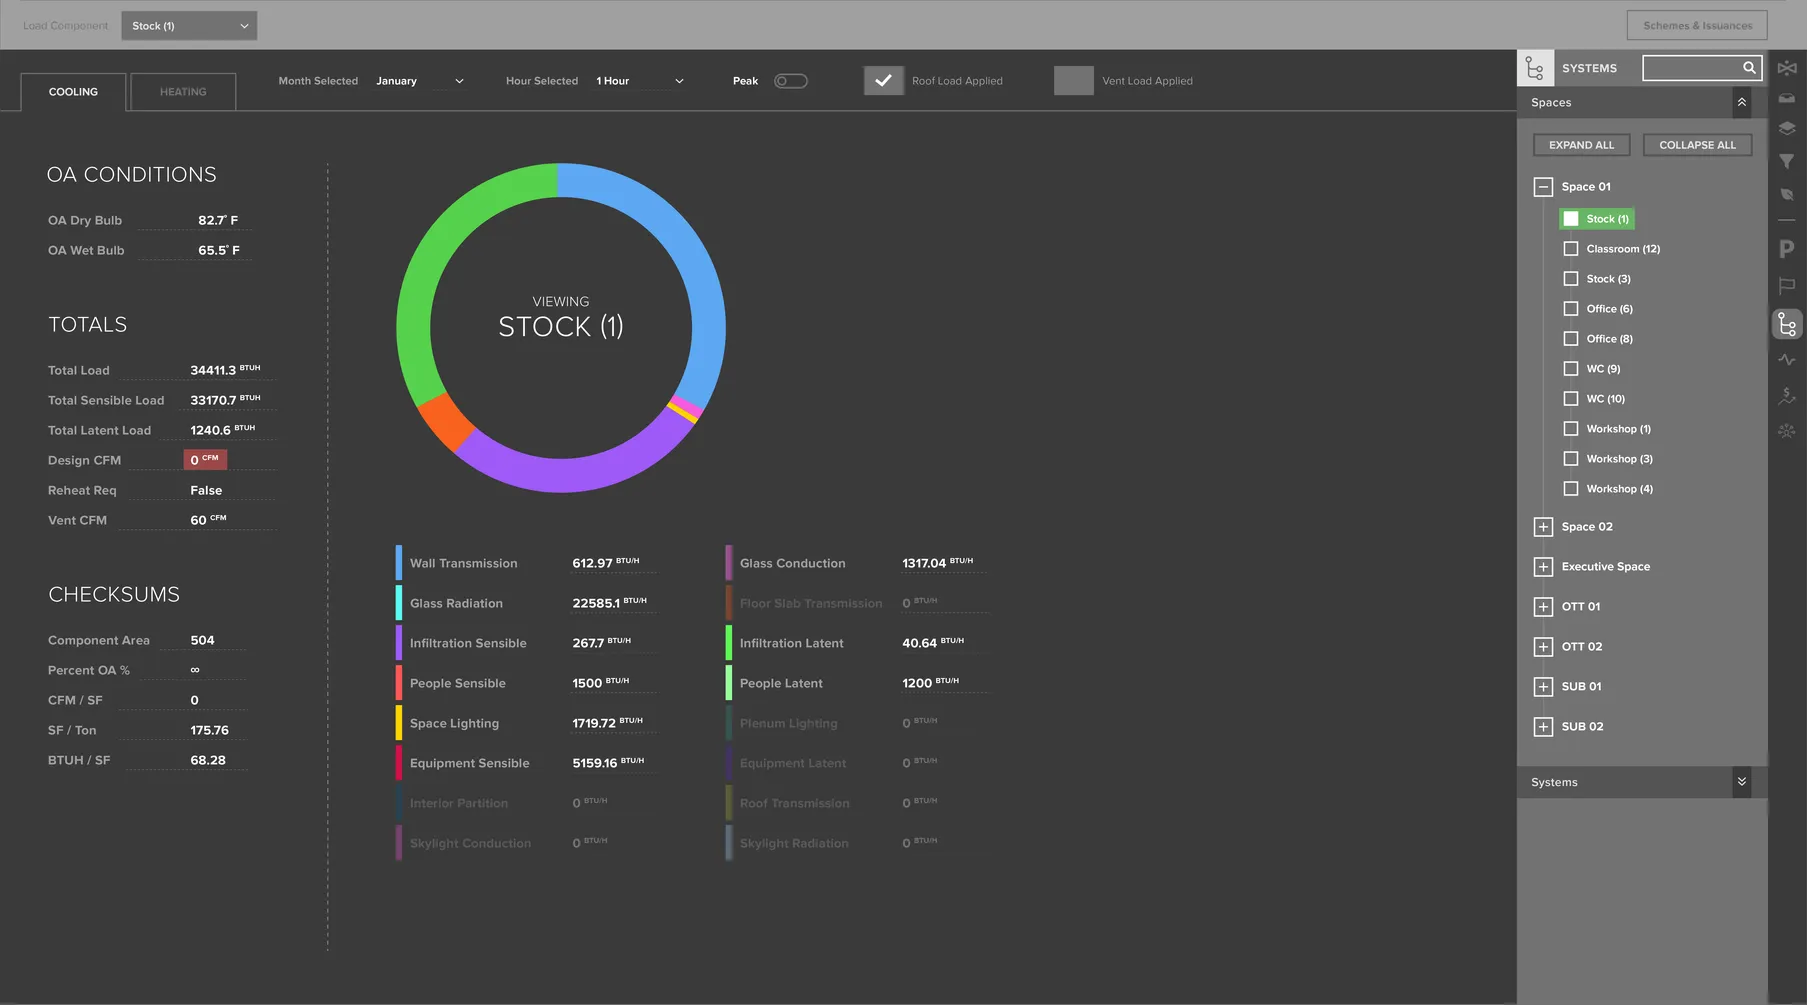
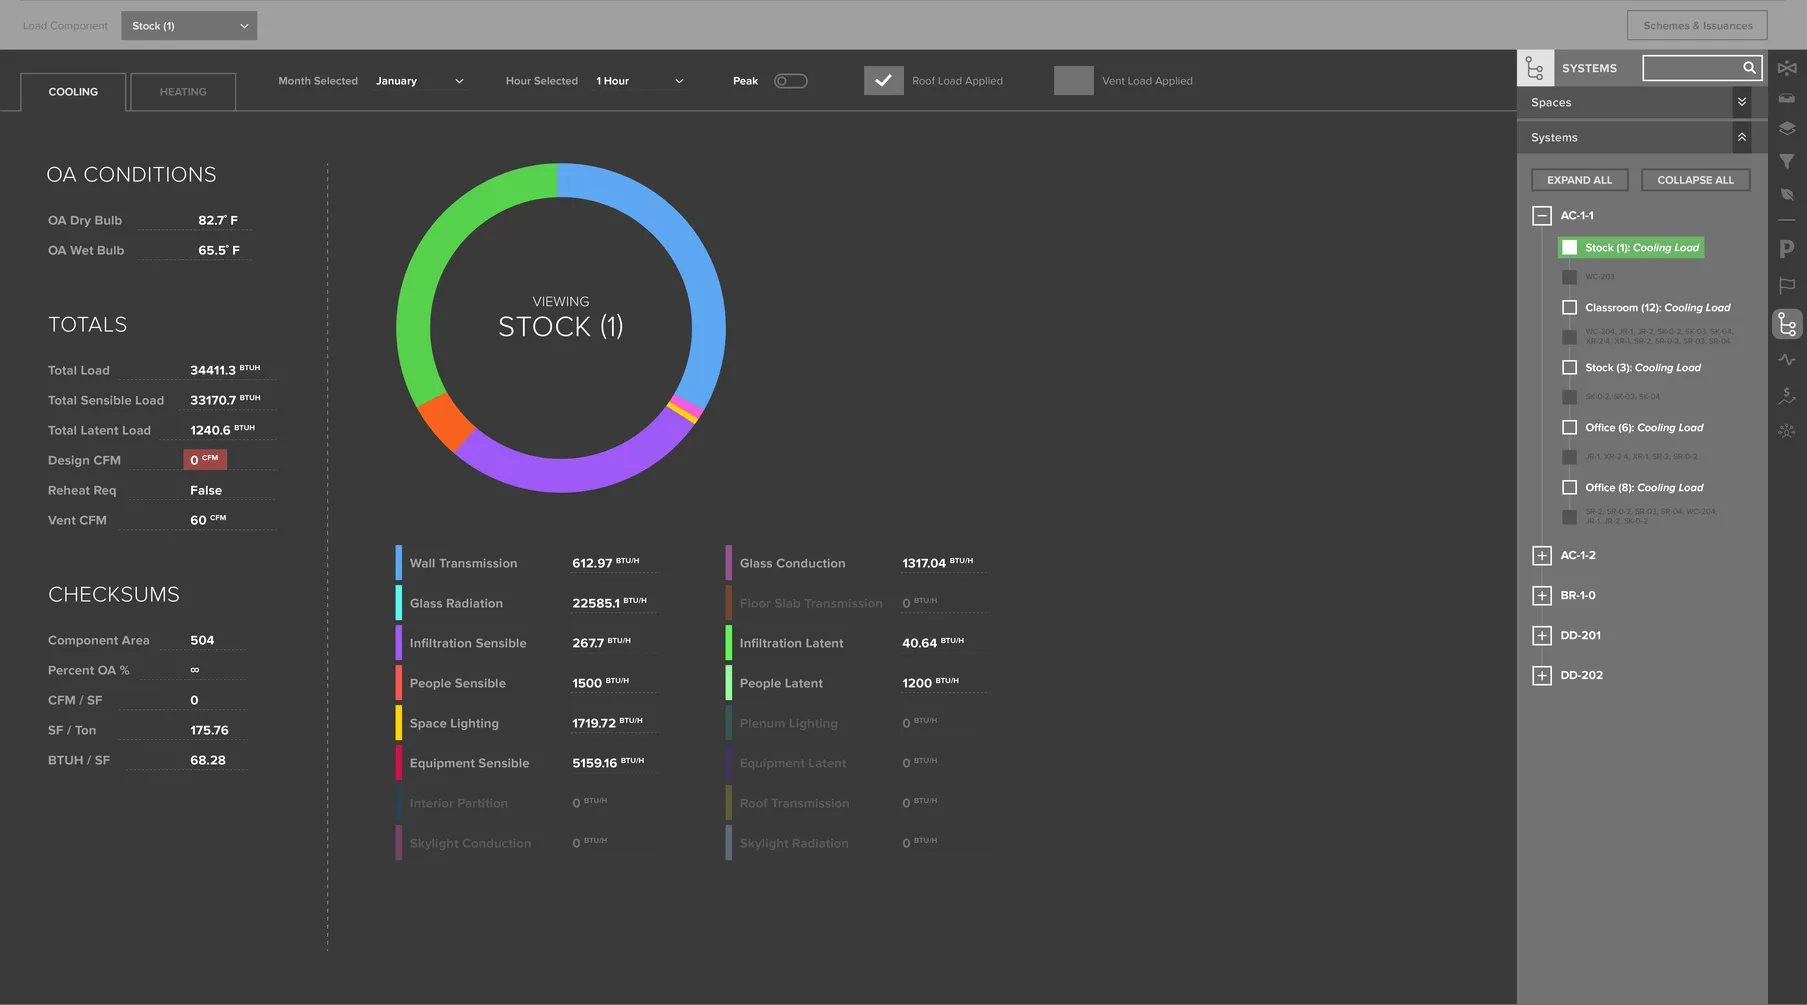
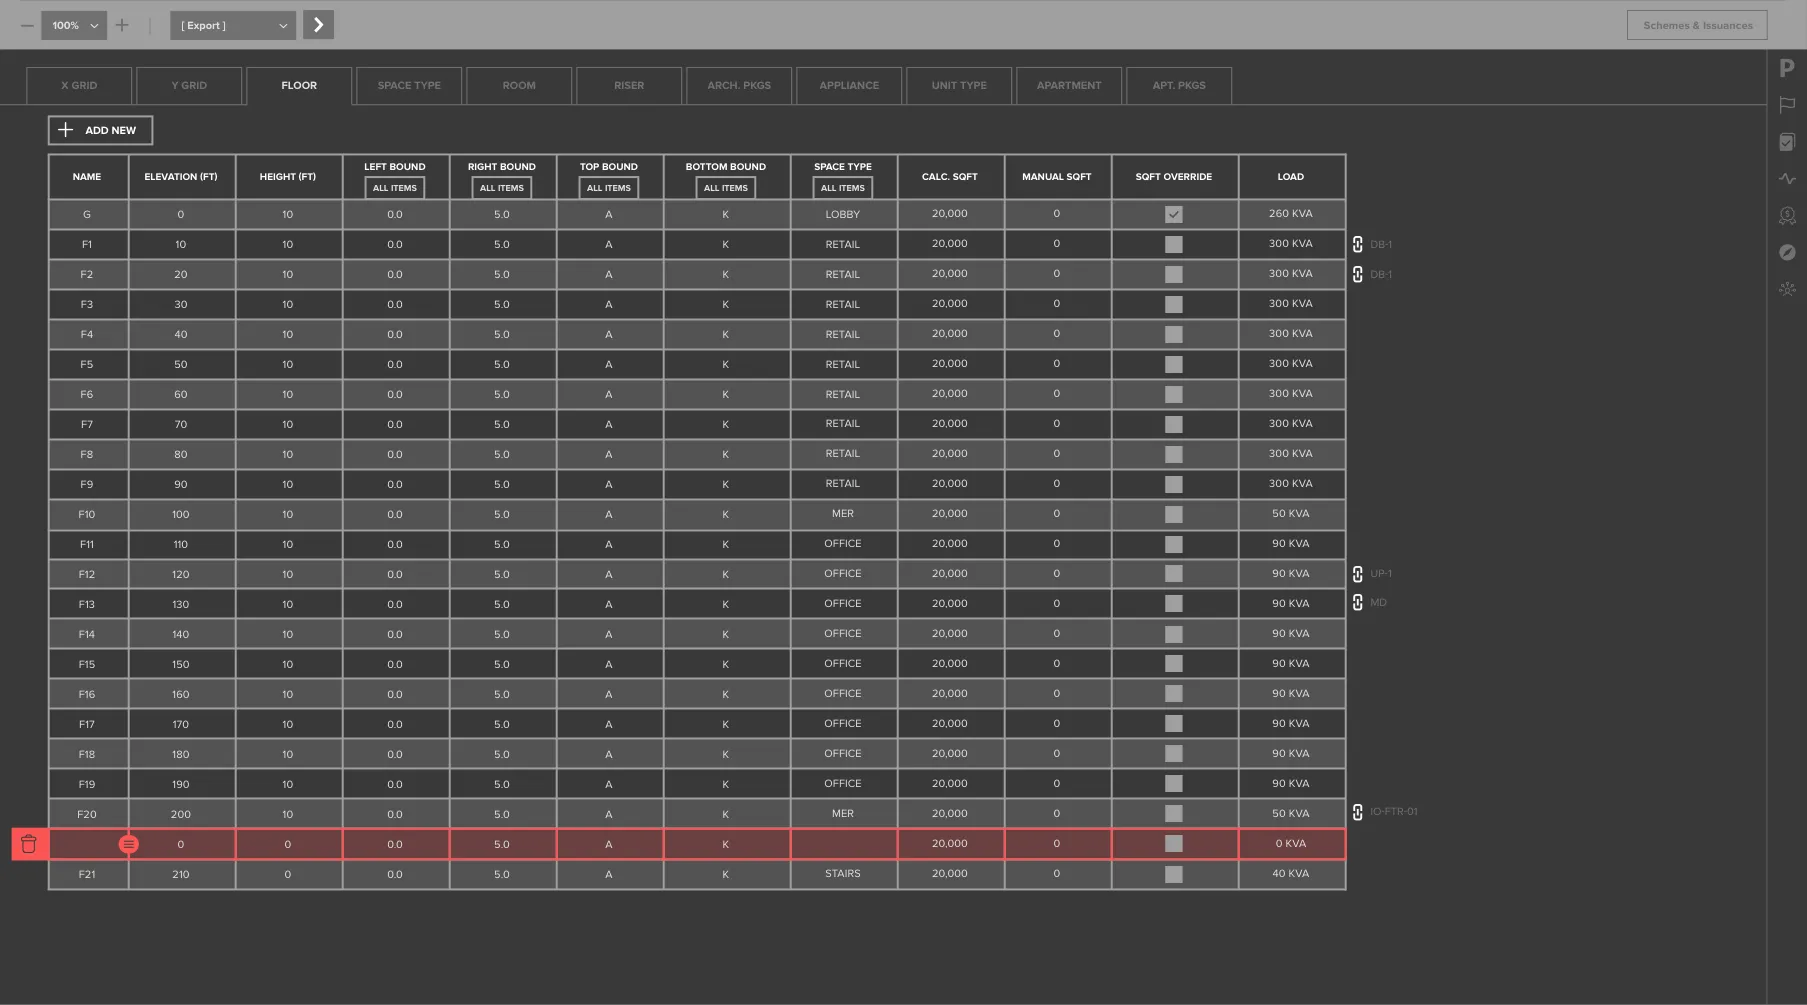
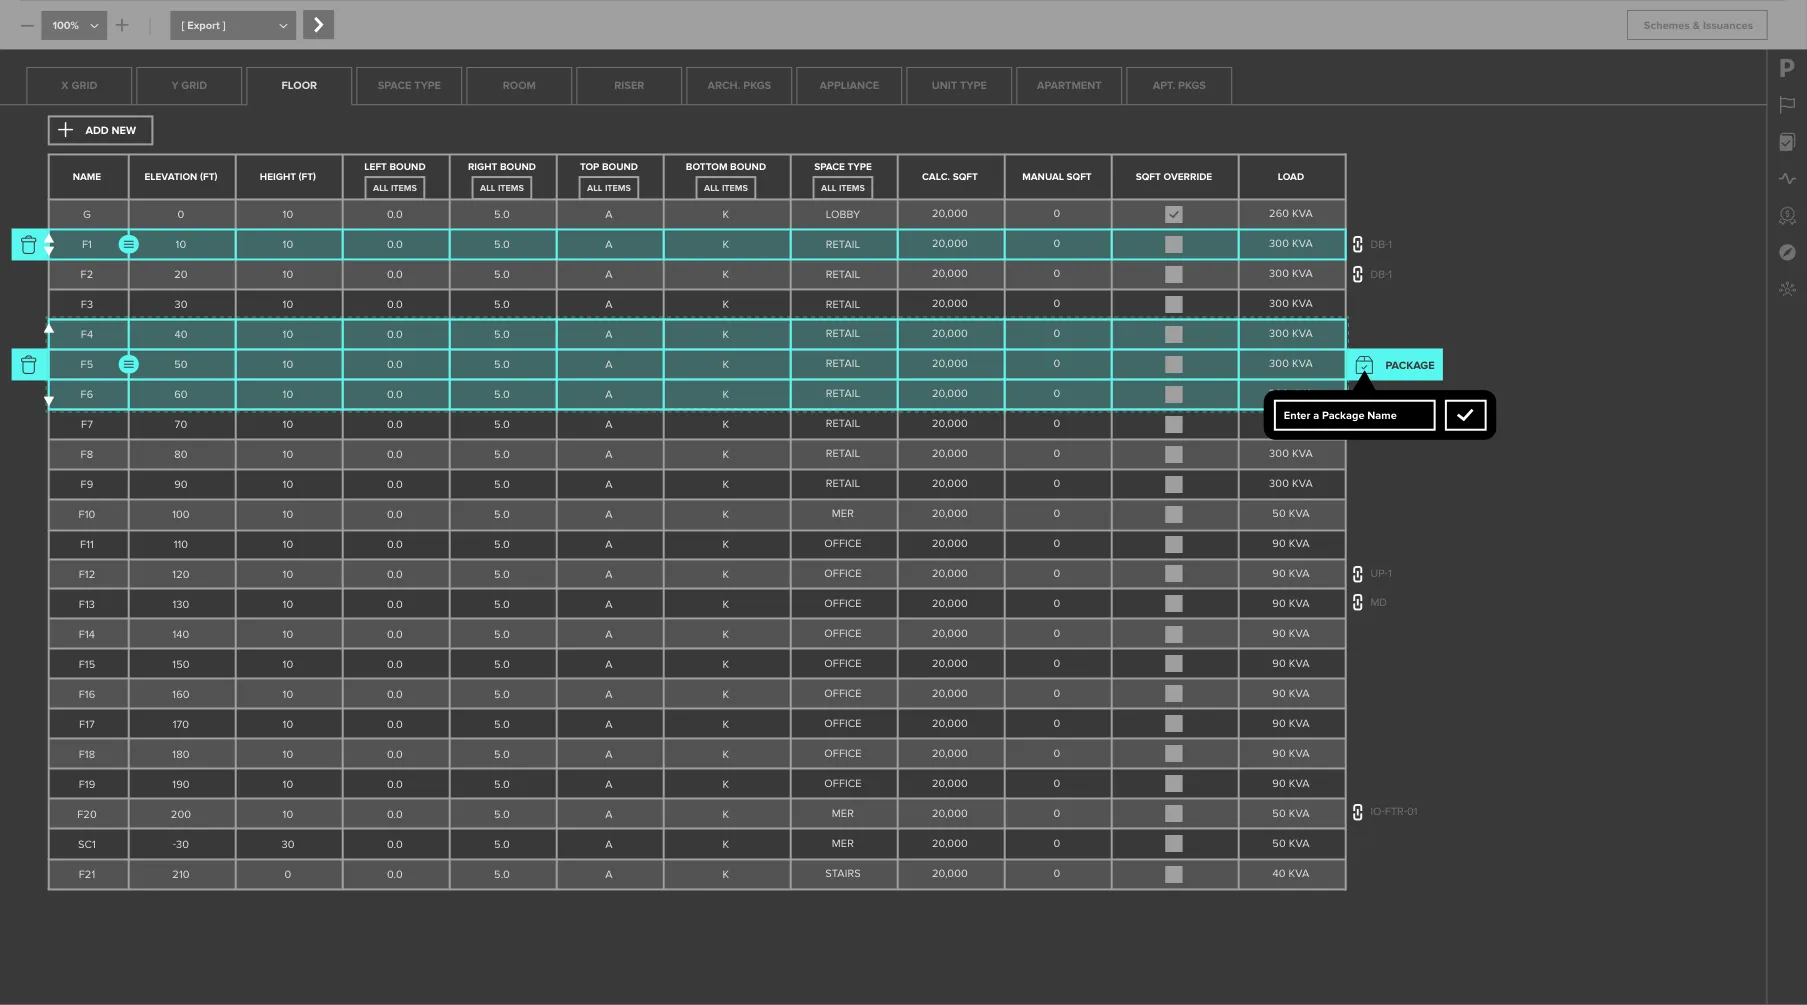
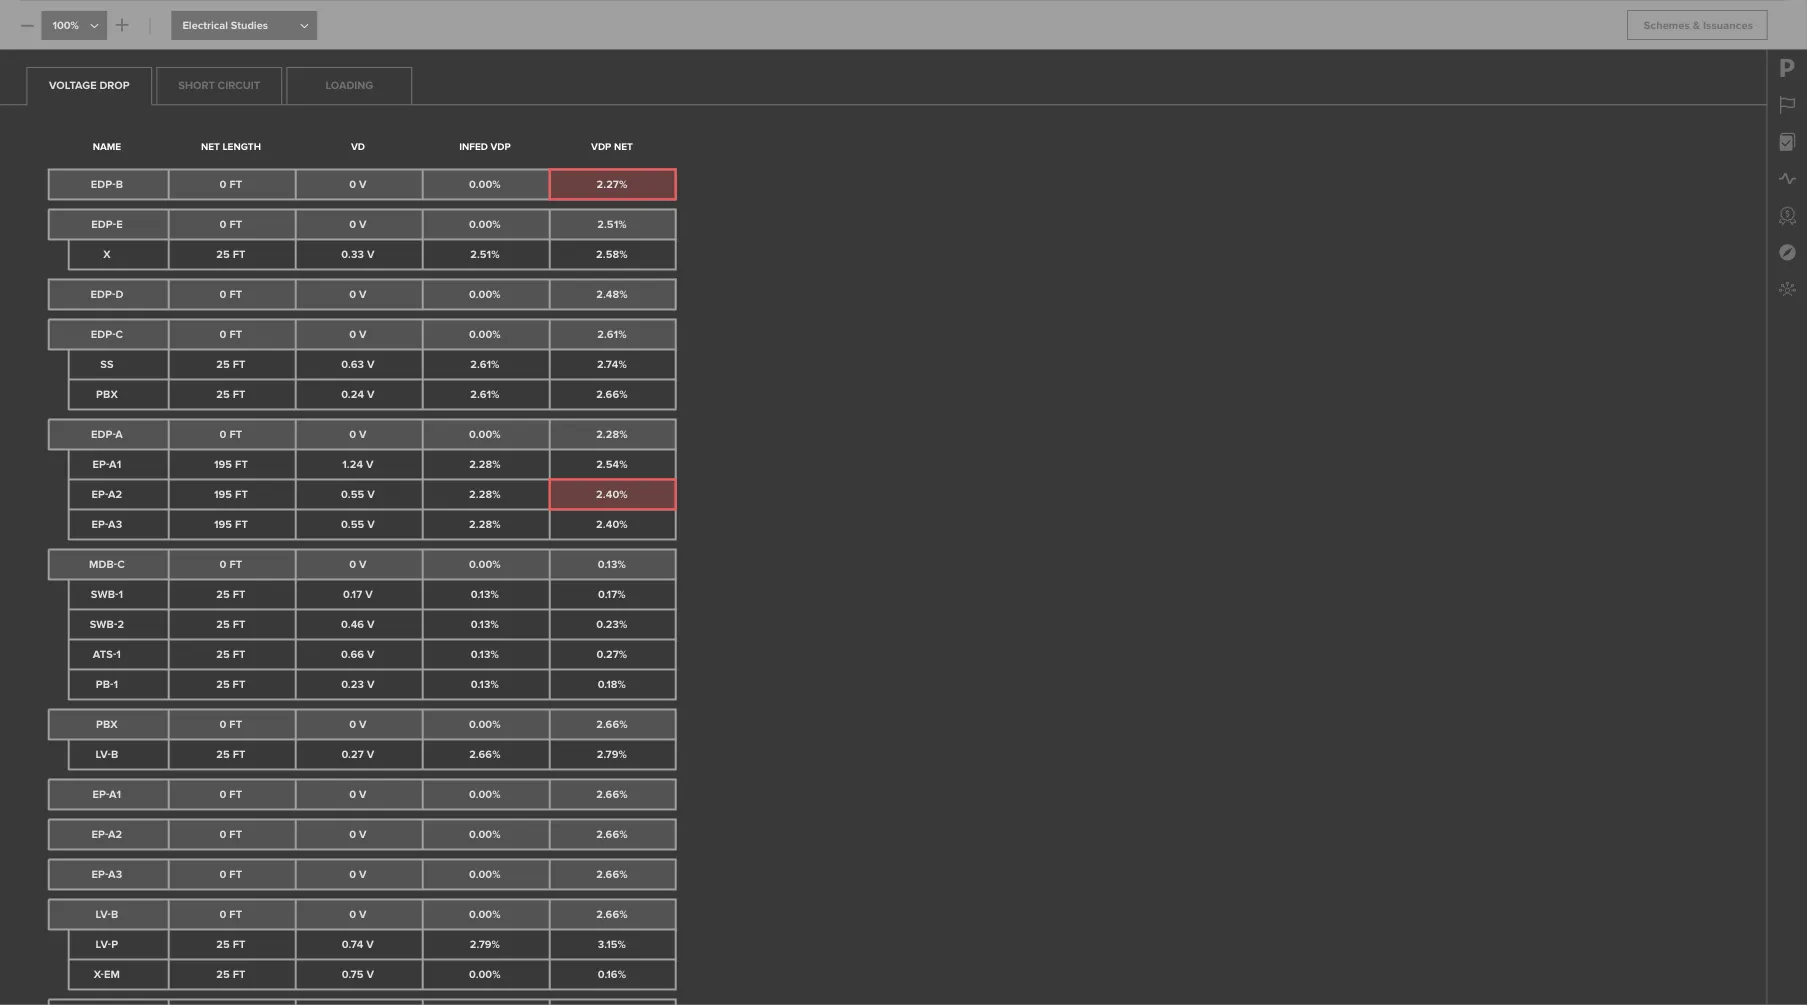
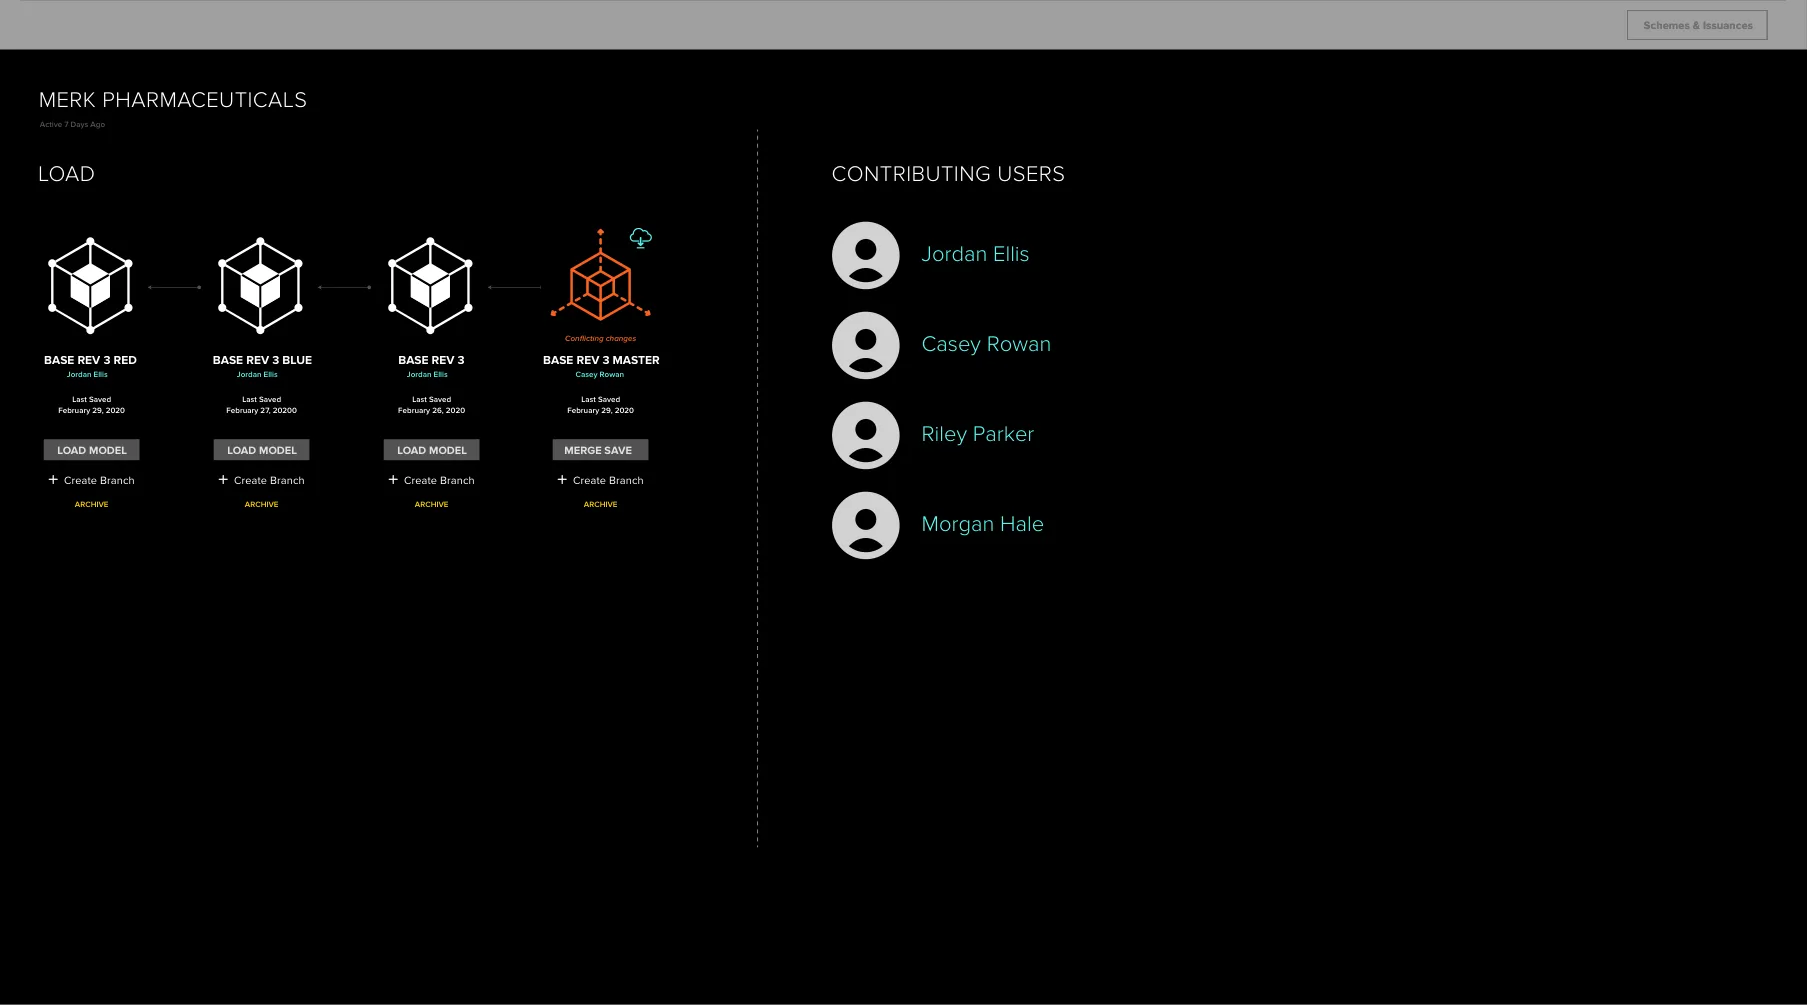
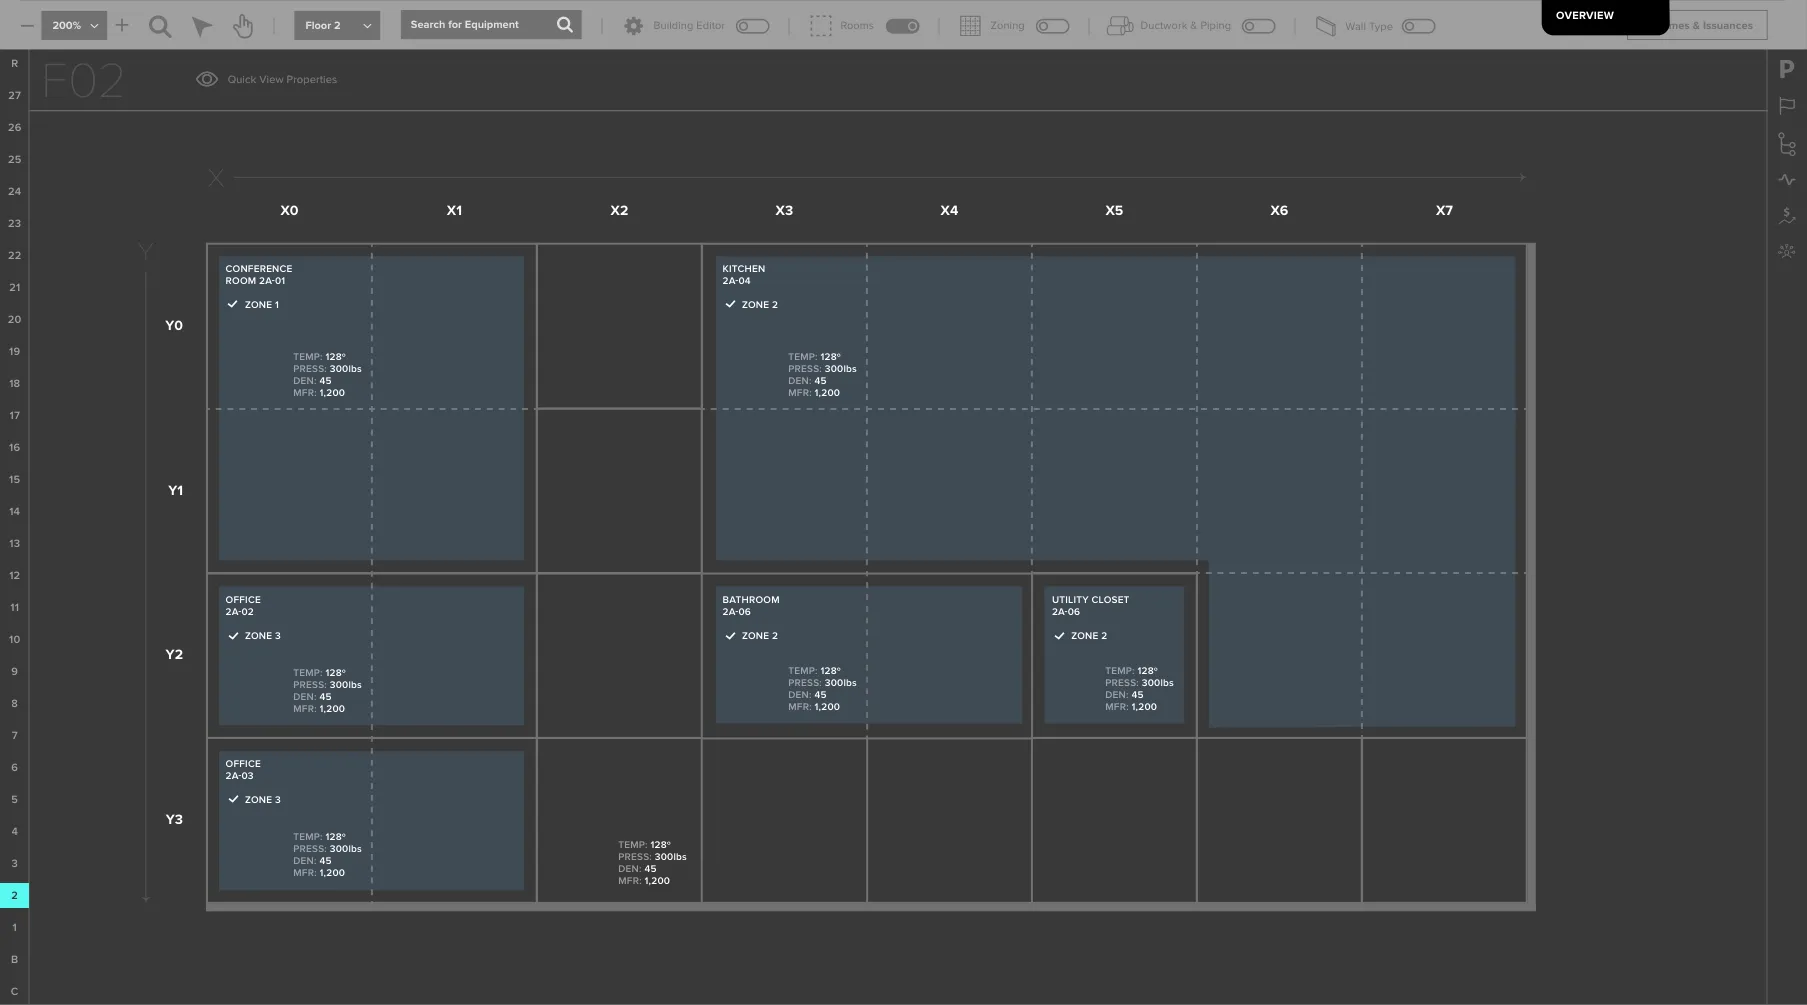
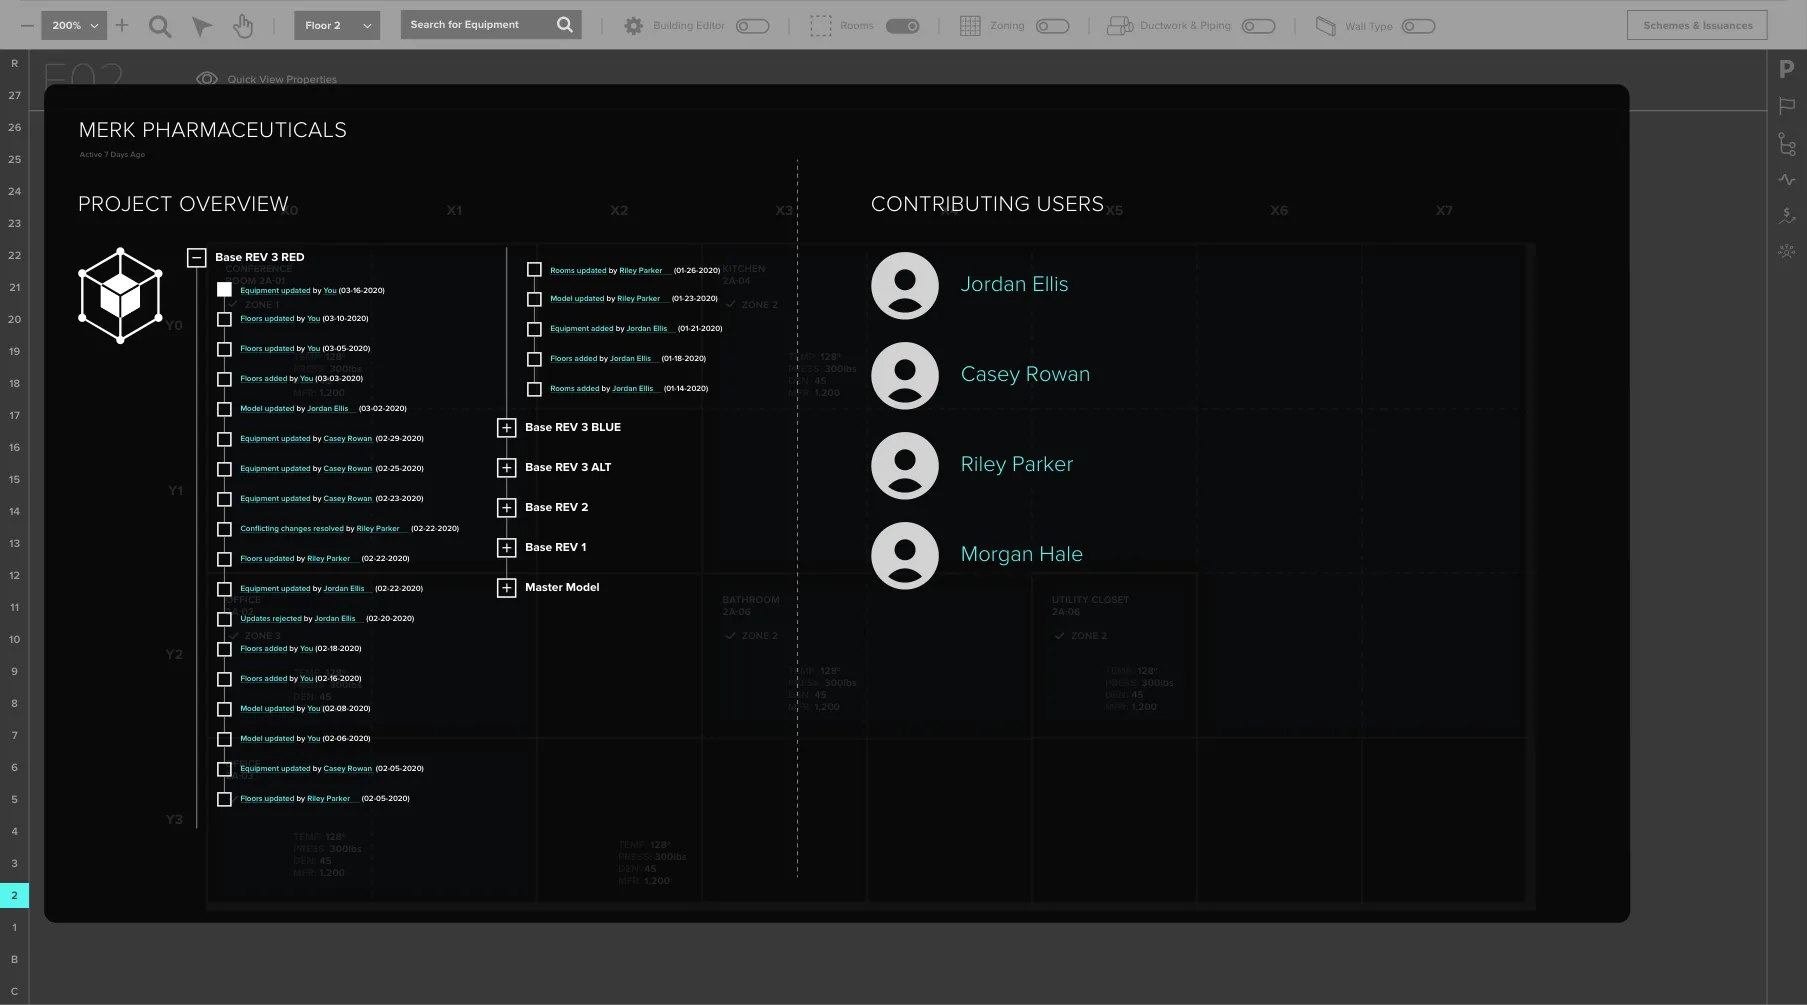
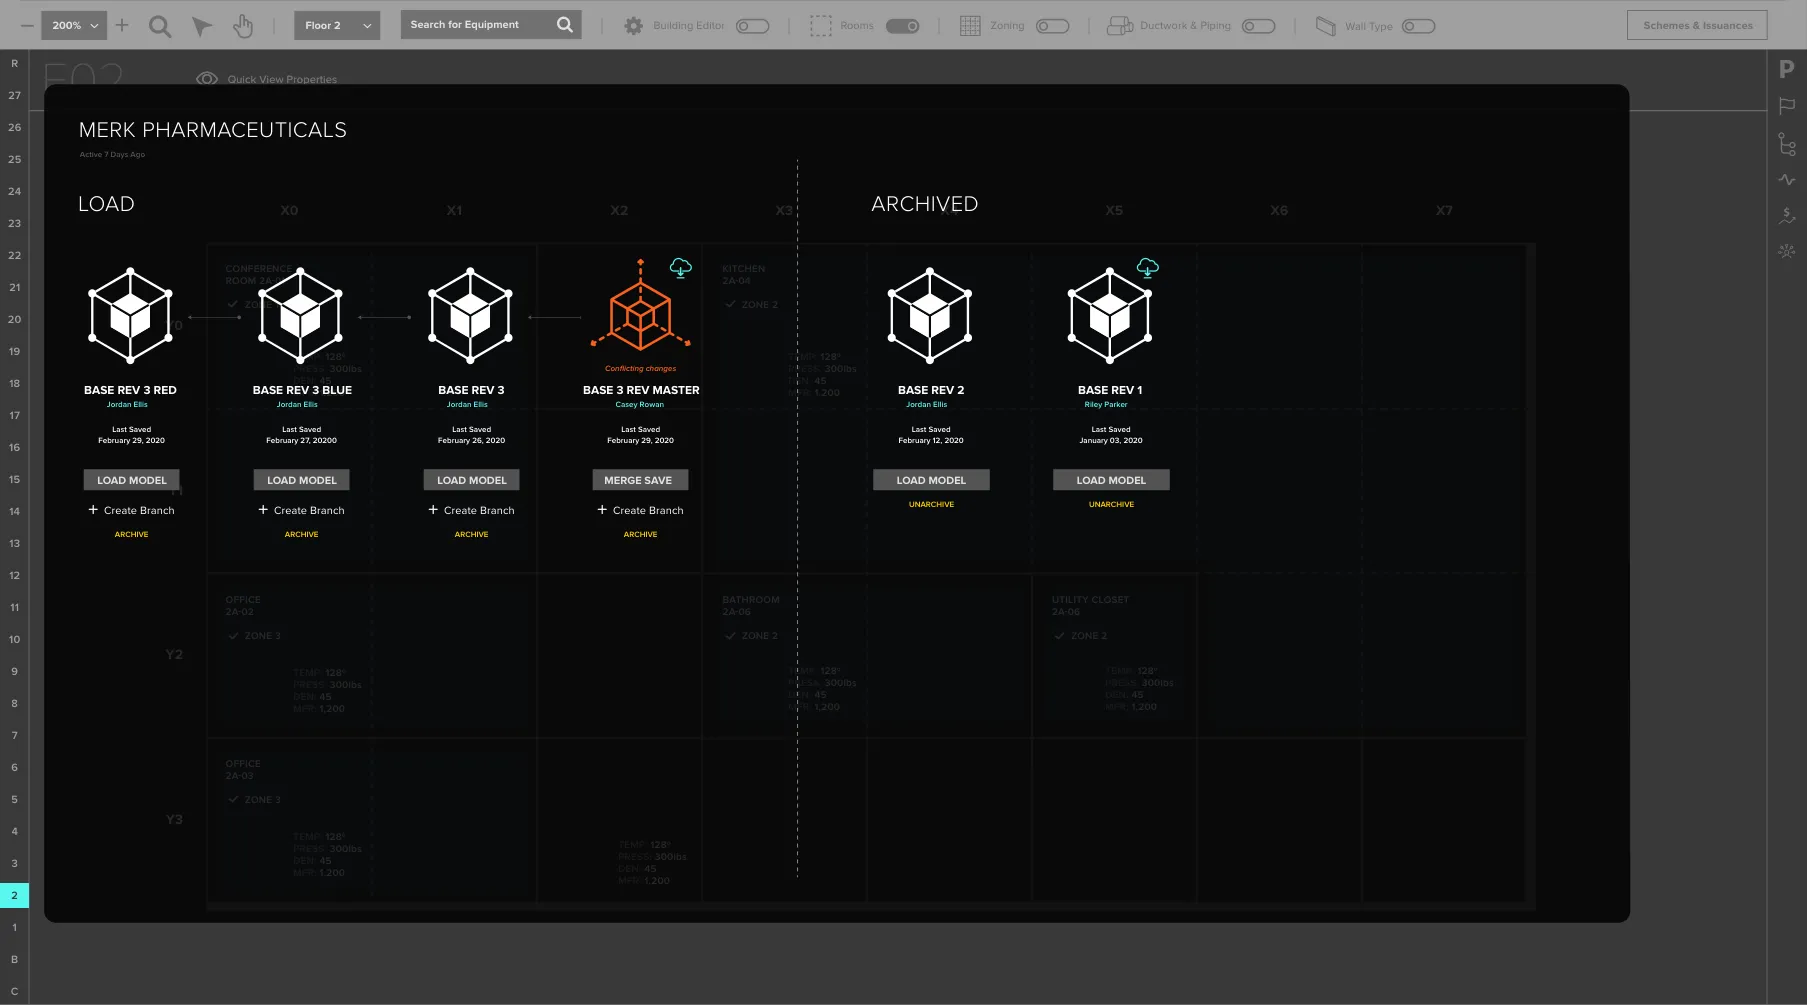
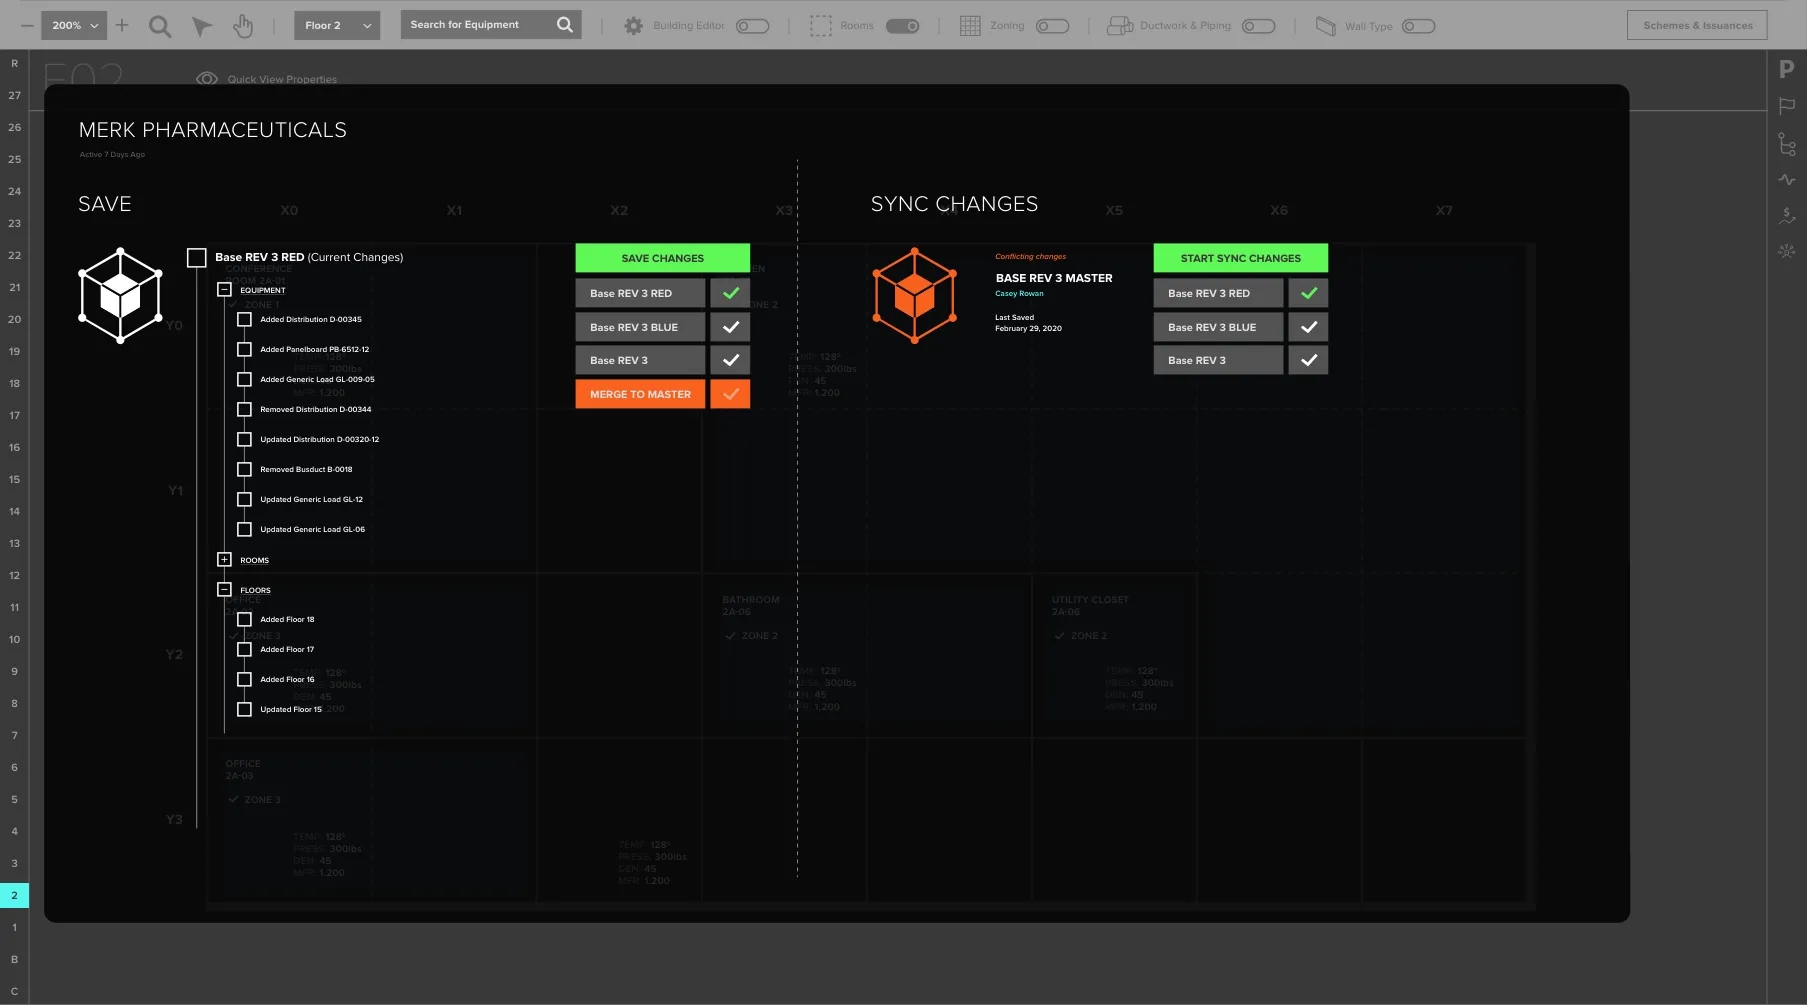
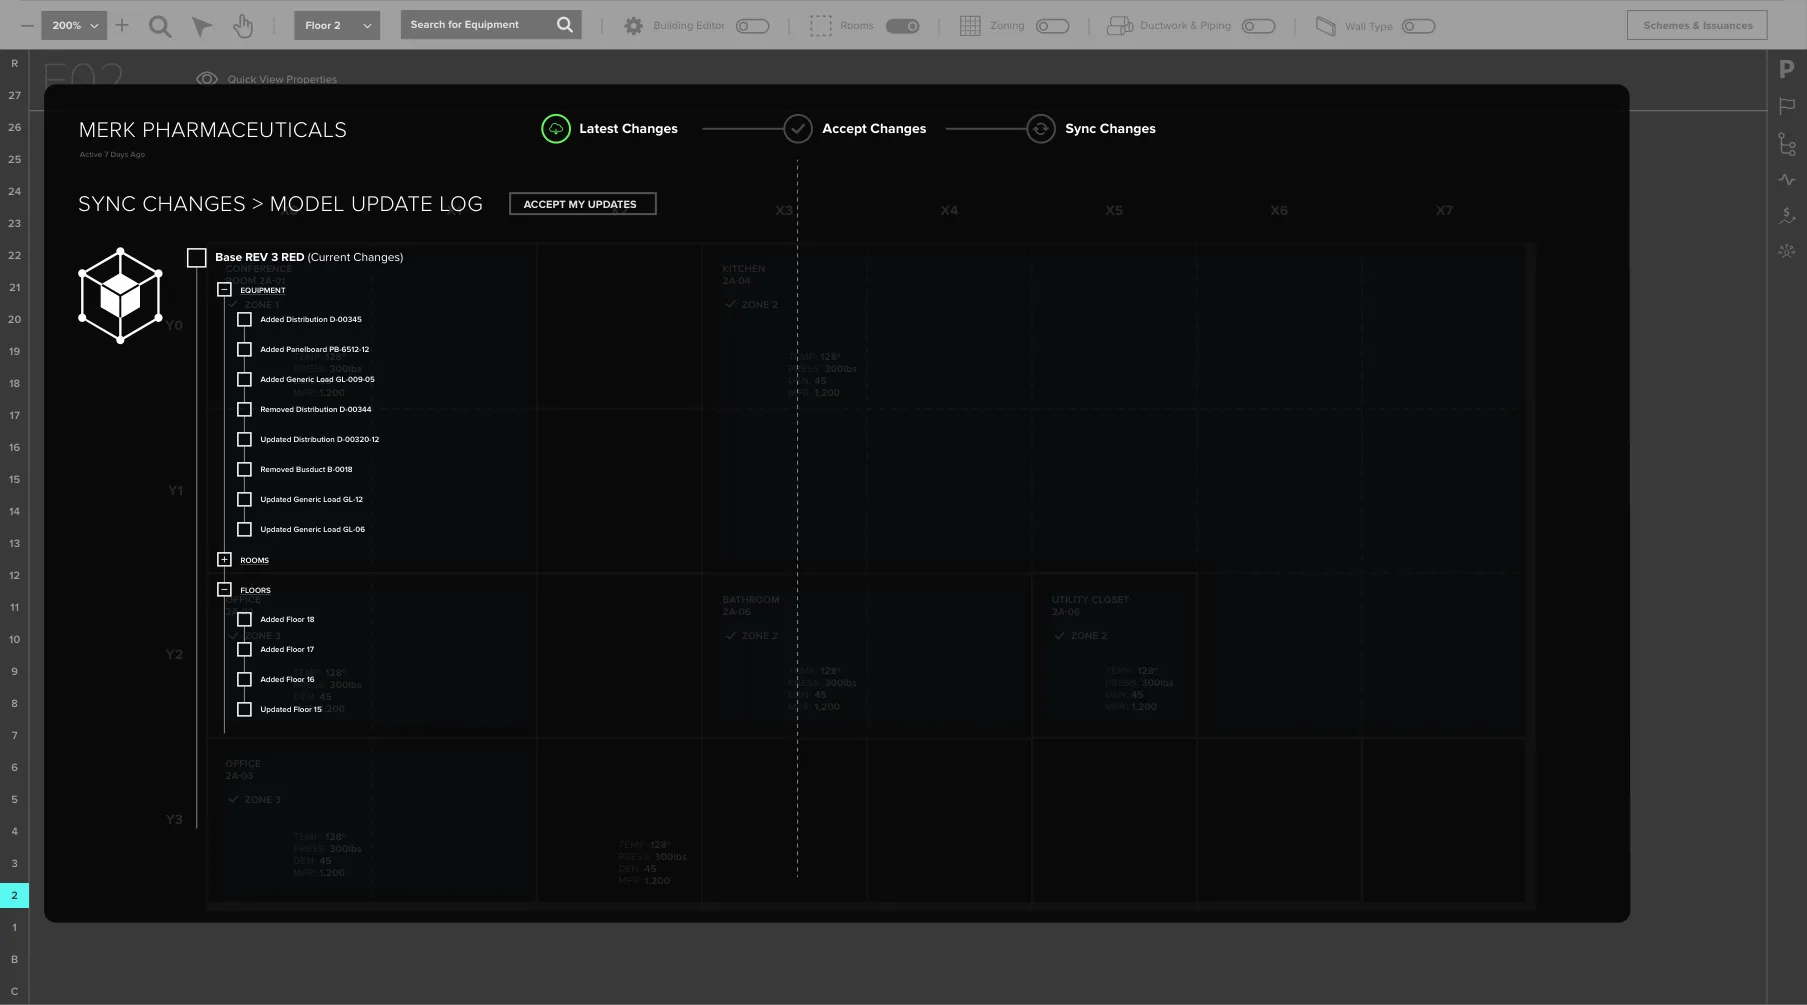
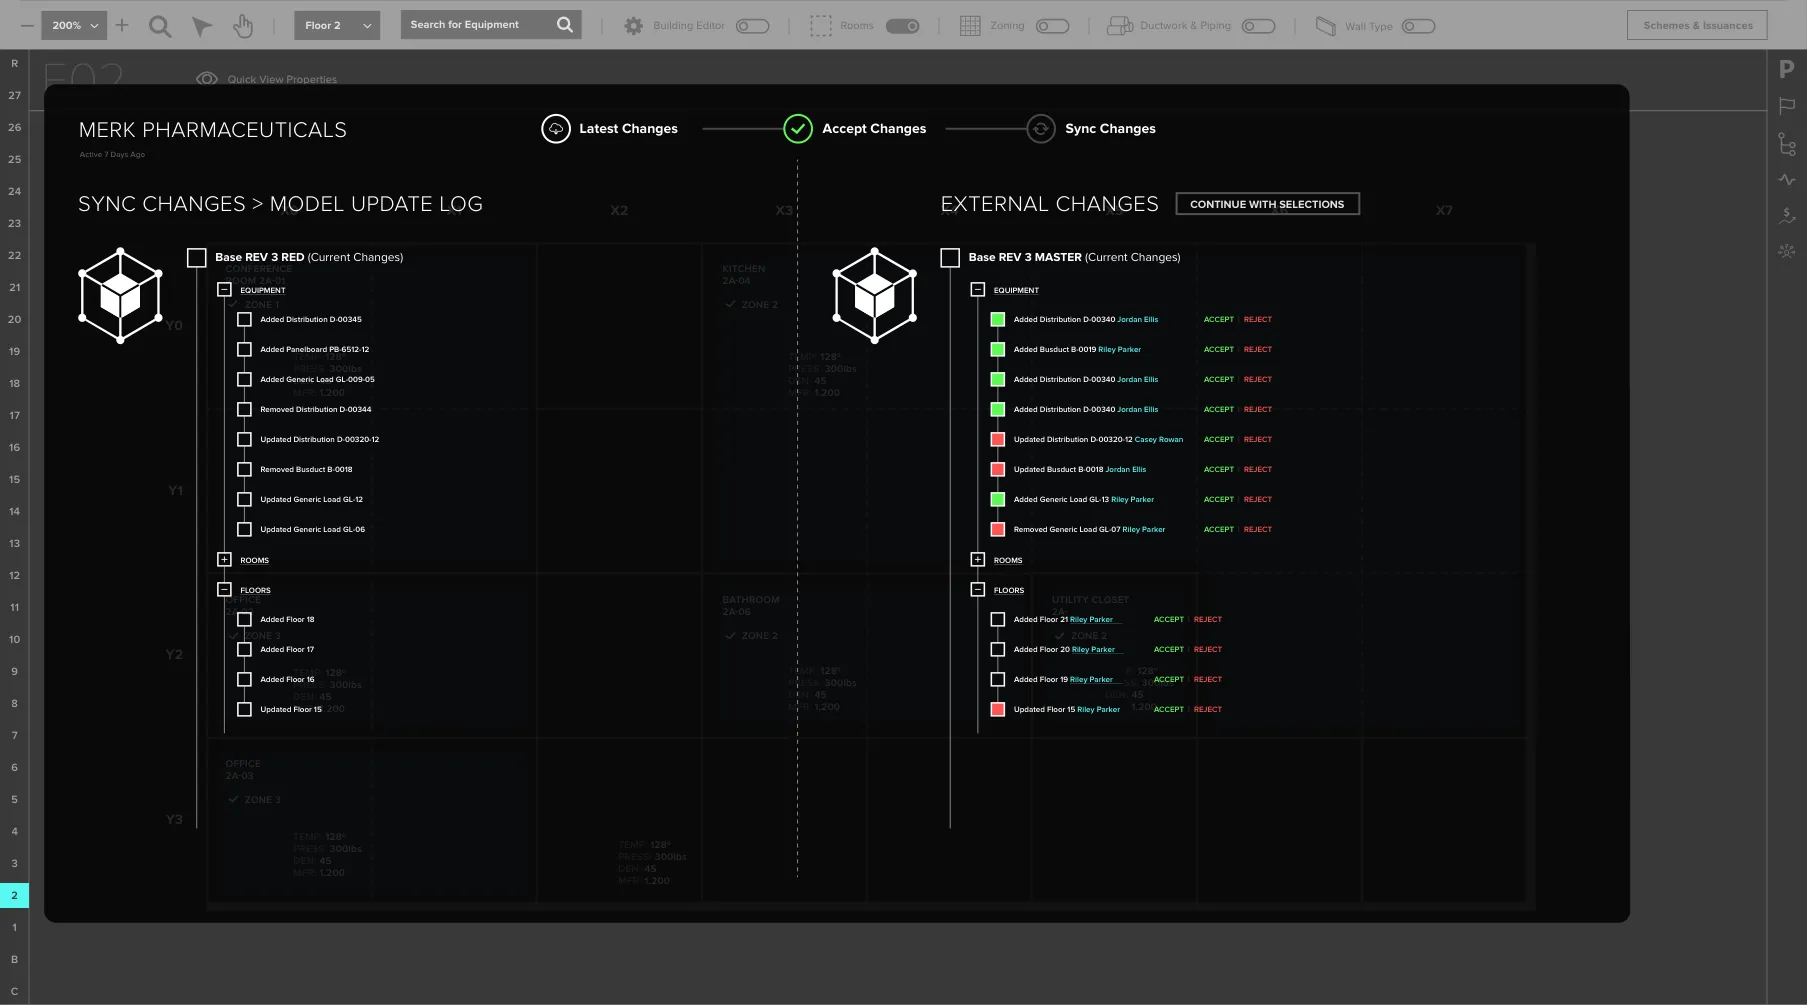
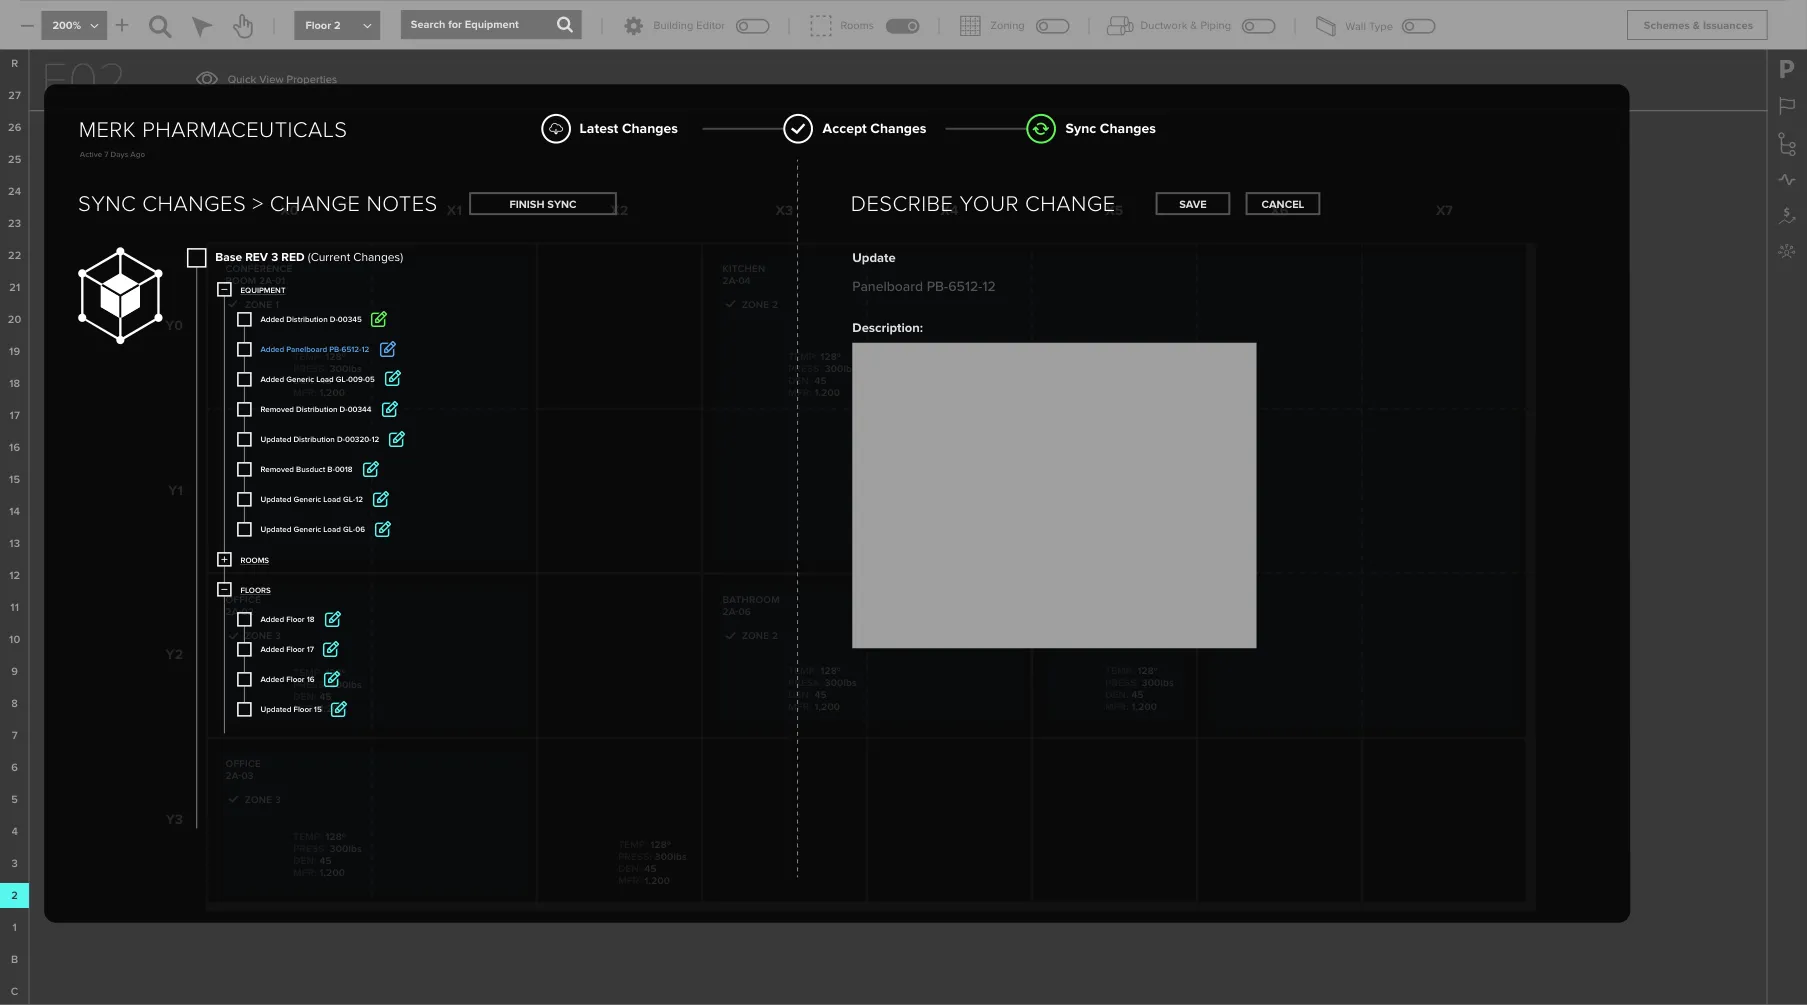
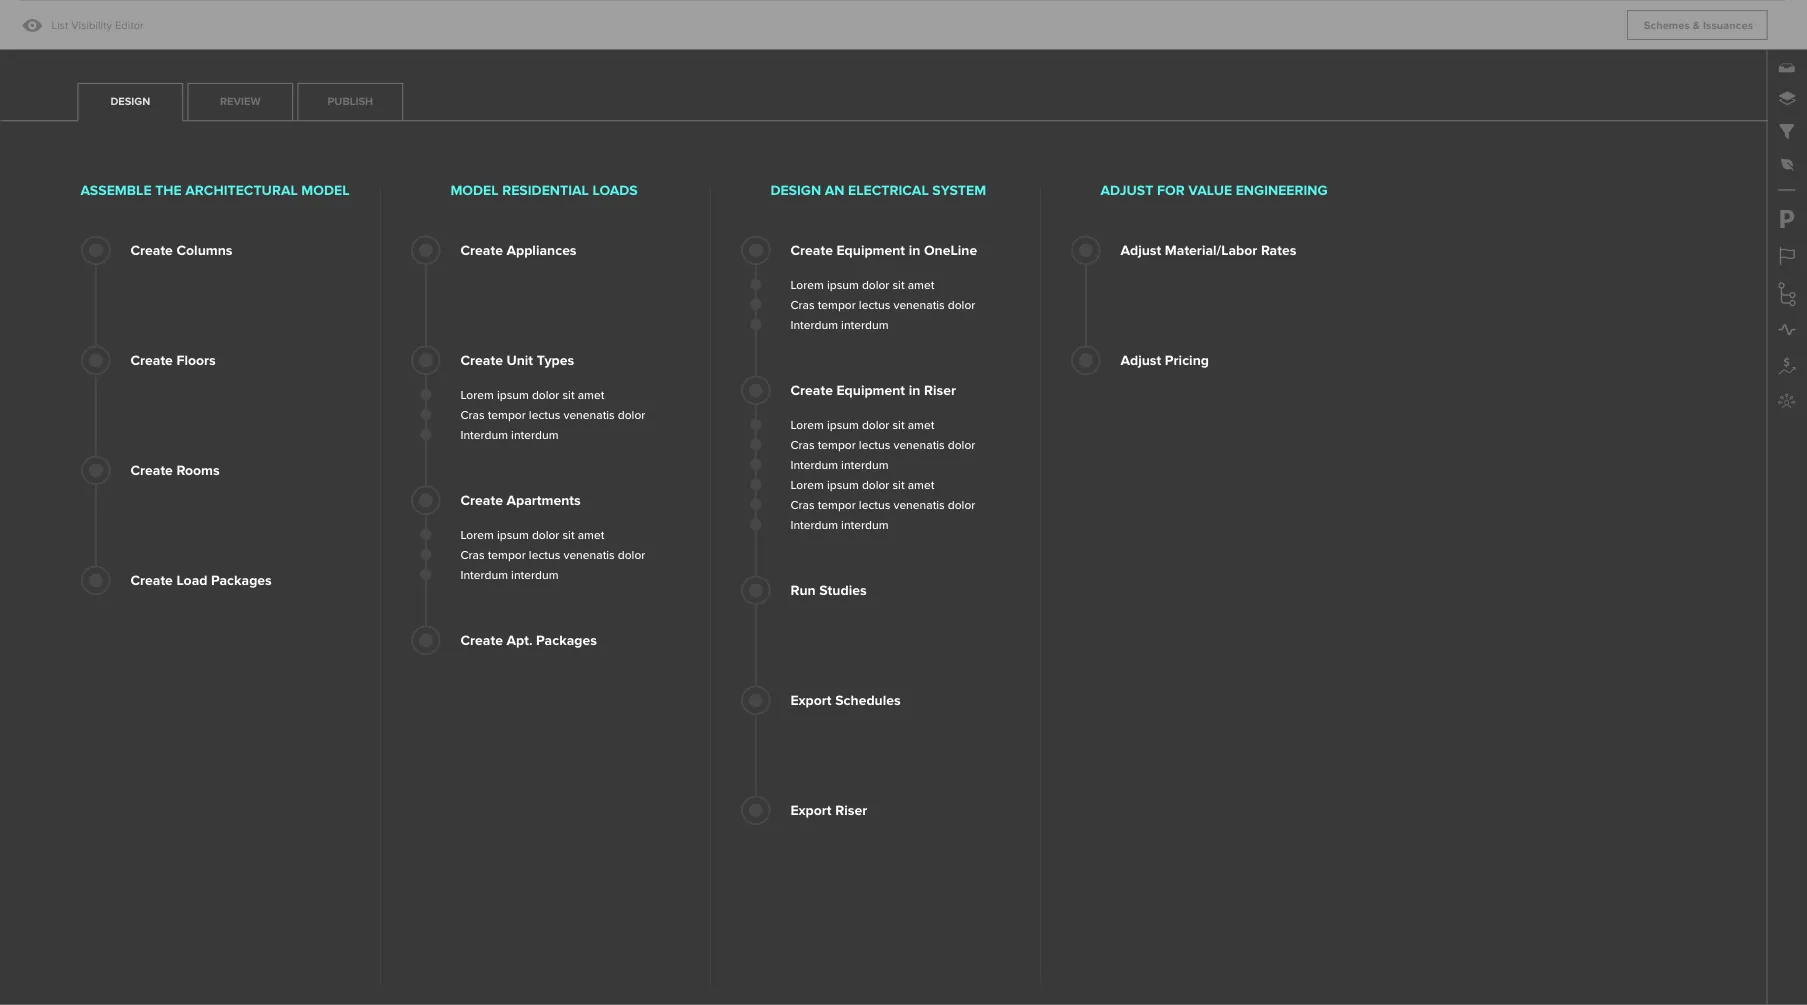
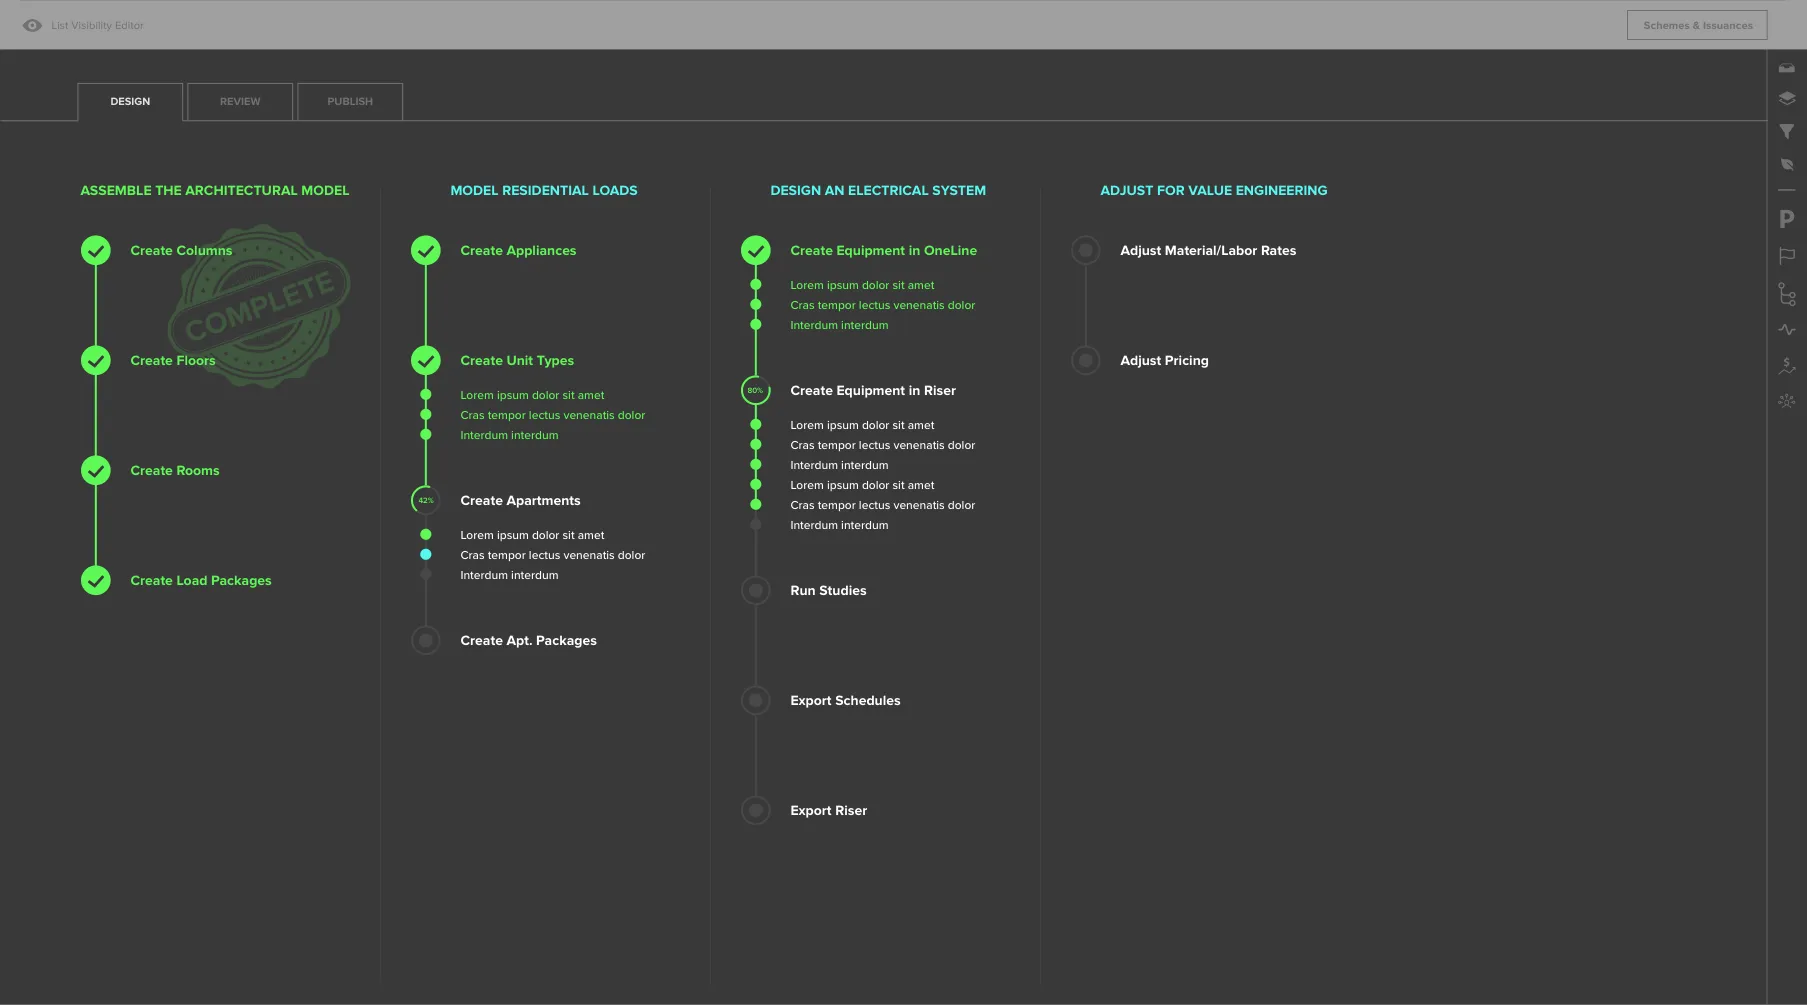
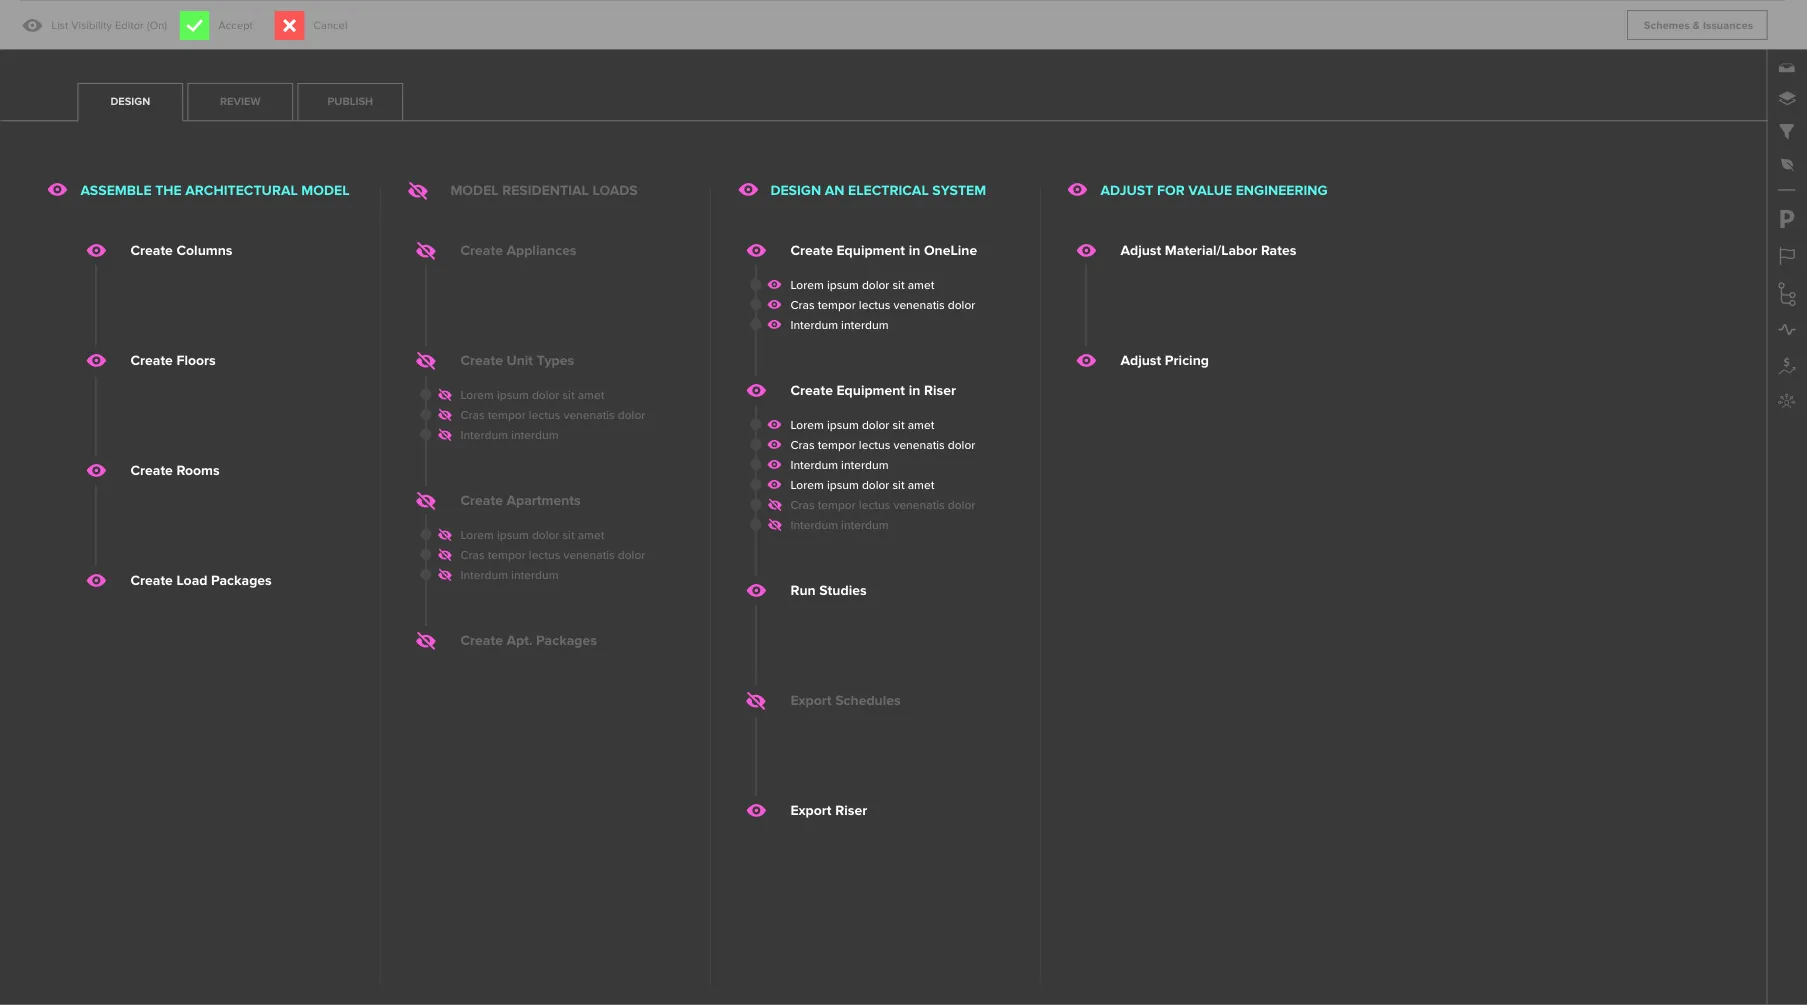
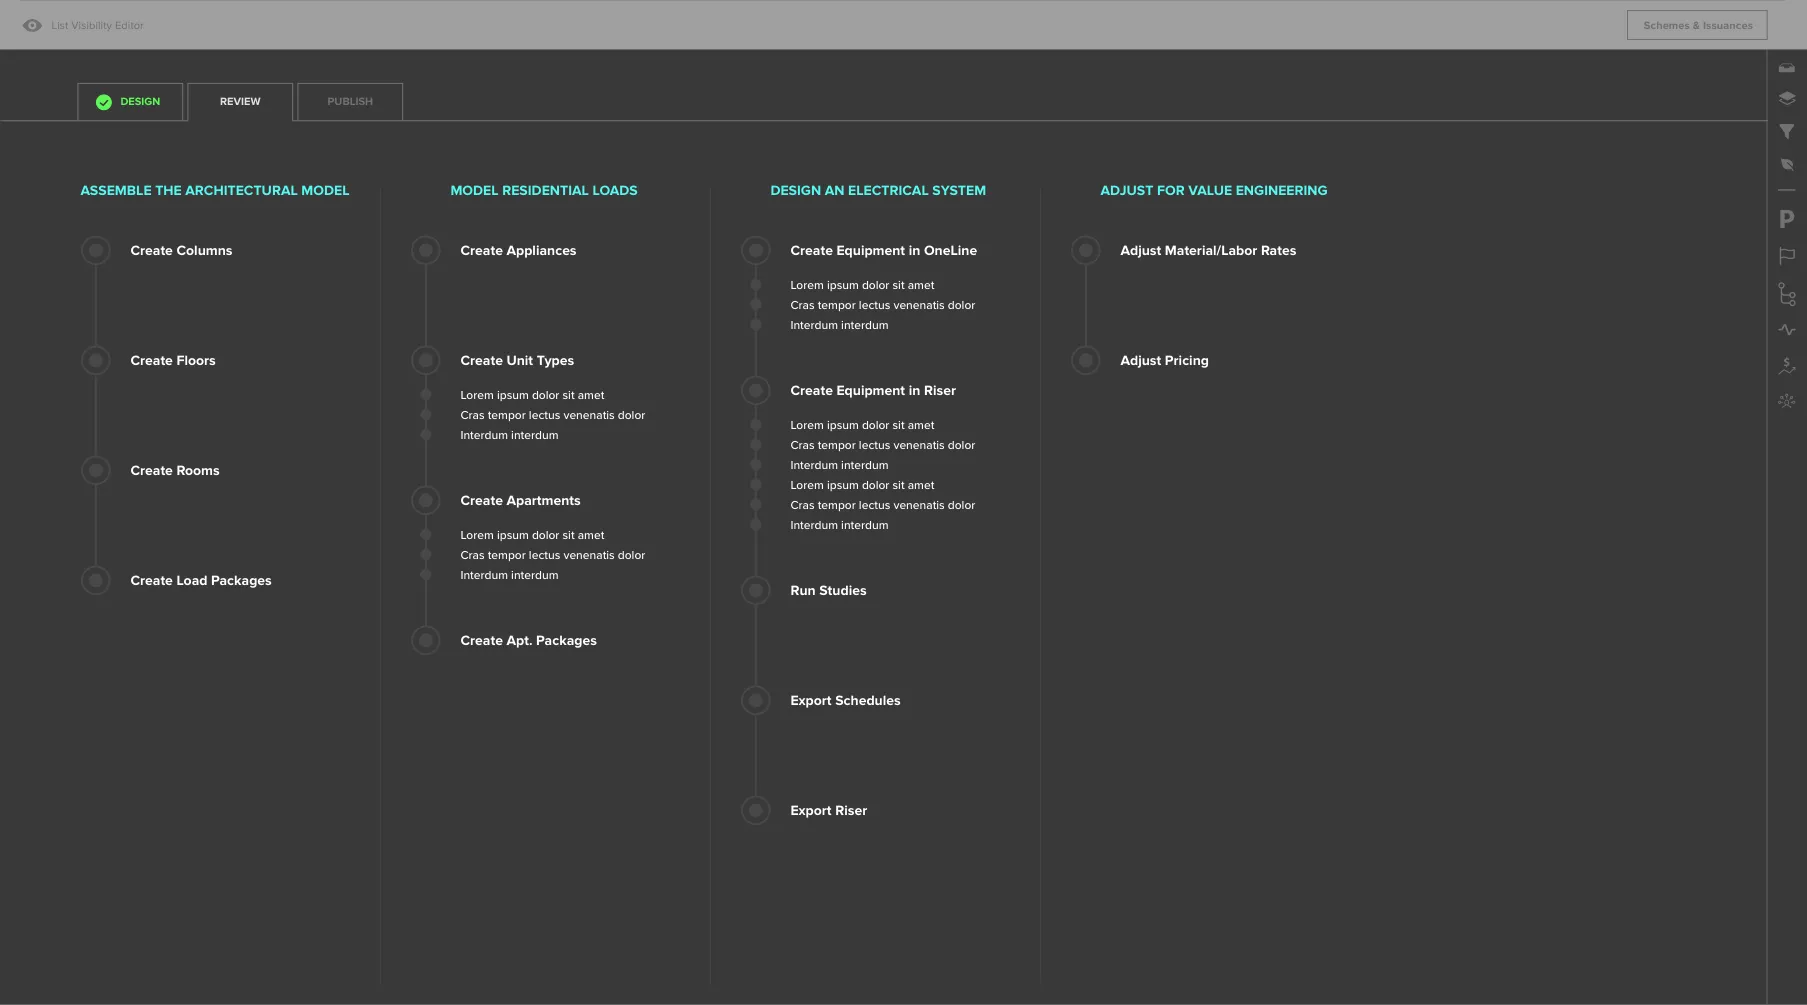
Pick a workspace on the left; the number is how many screens it has. Click the canvas or the dots to step through them. On the one-line, click any pulsing equipment.